

Give a department its own rooms
Create a team space so one department can book a set of rooms, and everyone else cannot even see them. About ten minutes.
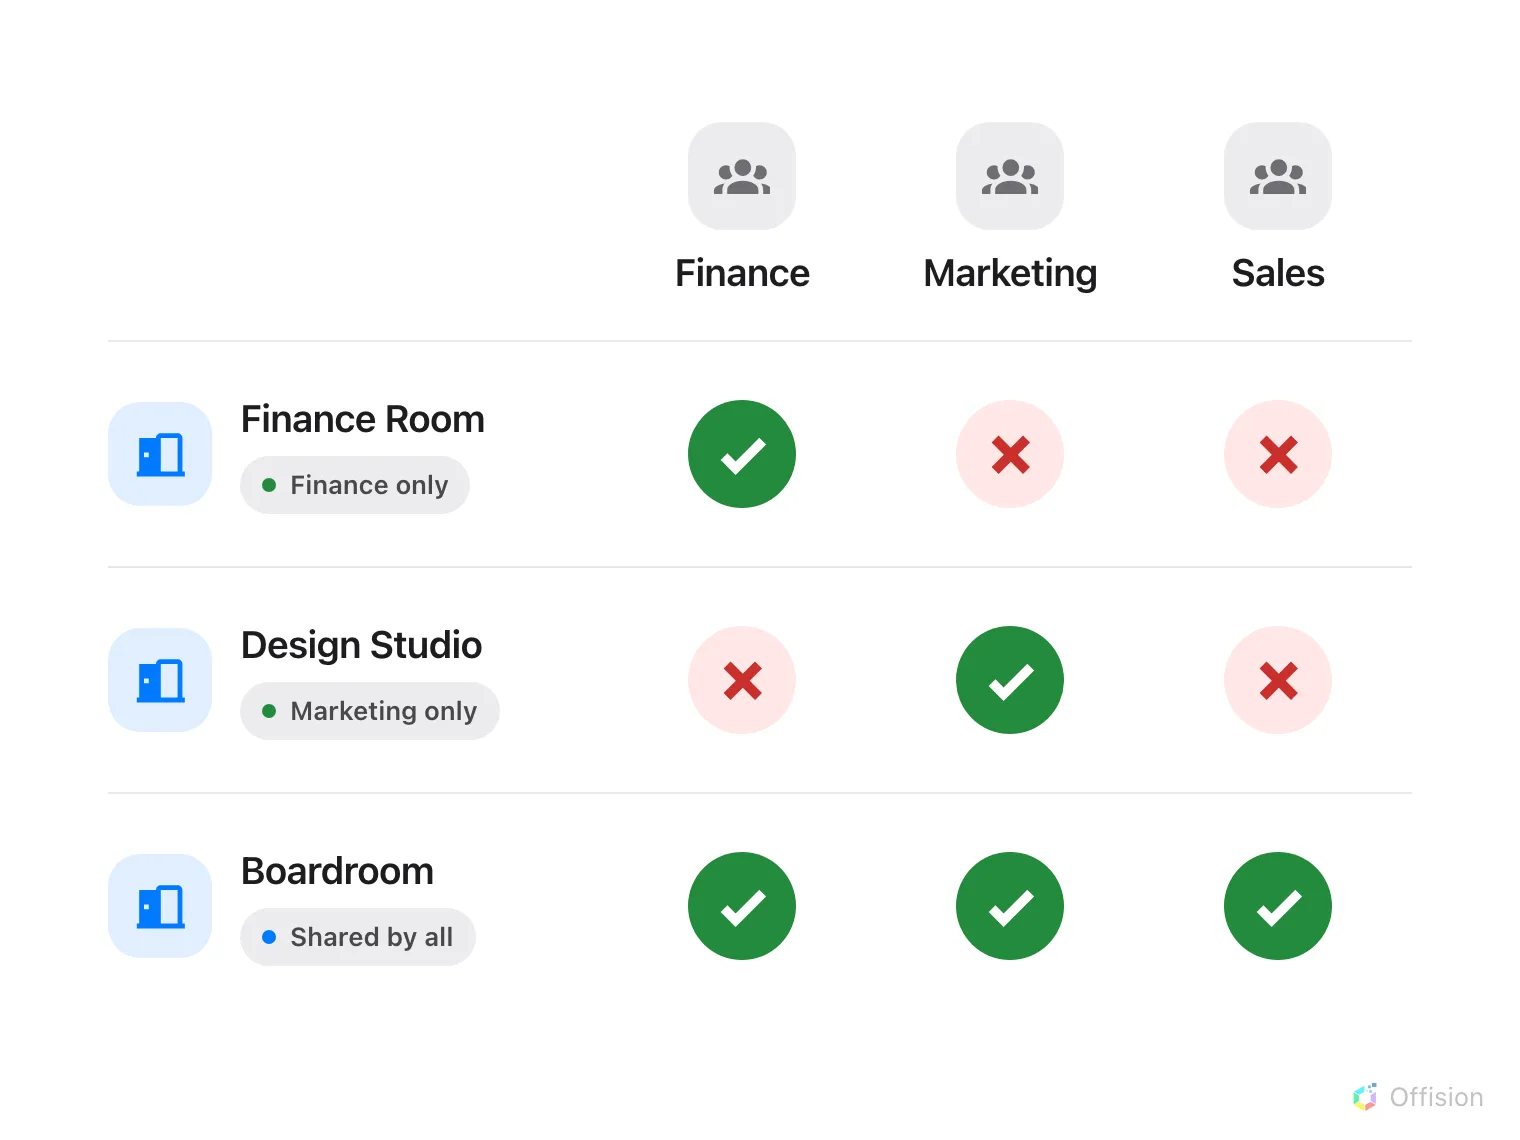
A room can belong to one department, and nobody else can book it — or be shared, by naming more than one department.
1. Put the department in a user group
A team space grants access to users and to user groups. Use a group. People join and leave departments constantly, and a group means that happens in one place instead of in every team space they touch.
Offision ships a Department category, so the group you want may already be there — check before creating another. See Create a user group if you need one.
Open User groups2. Create the team space
Go to Booking › Team spaces and add one. Name it after the department, or after the area if that is how people talk about it — “Design team”, “12th floor”. The name is the editable title at the top of the rail, not a field on a page of its own.
Open Team spaces3. Choose the resources it covers
The editor opens on Members & access. Below it the rail carries one page per resource type — rooms, desks, equipment, parking spaces — each with a count of what you have picked.
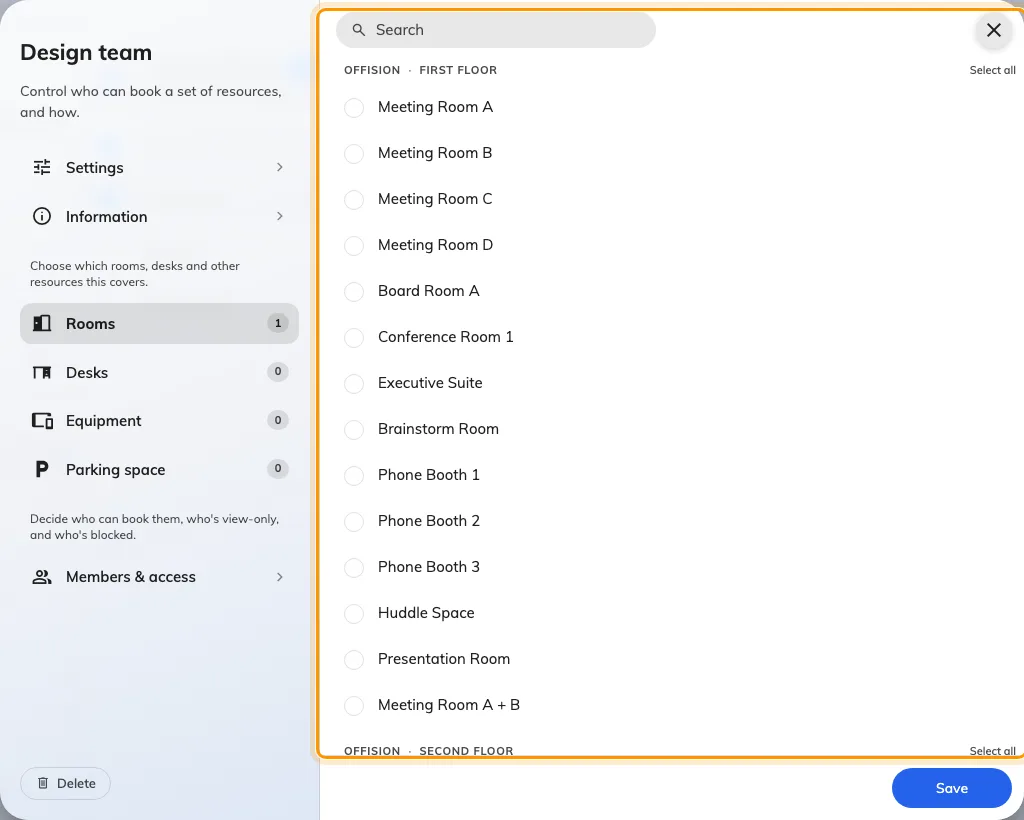
One page per resource type; the badge counts what this team space covers.
A resource belongs to one team space at a time. Picking a room here takes it away from whichever team space had it before, and nothing on this screen says so — the label beside each room is its category, not its current team space. If a room is meant to be shared between two departments, one team space listing both groups is the way to do it, not two team spaces.
4. Add the department as team members
Open Members & access, the first page in the rail and the one the editor opens on. It has three tabs, and the first is Team members — “Can book the resources”. Add the department’s user group there.
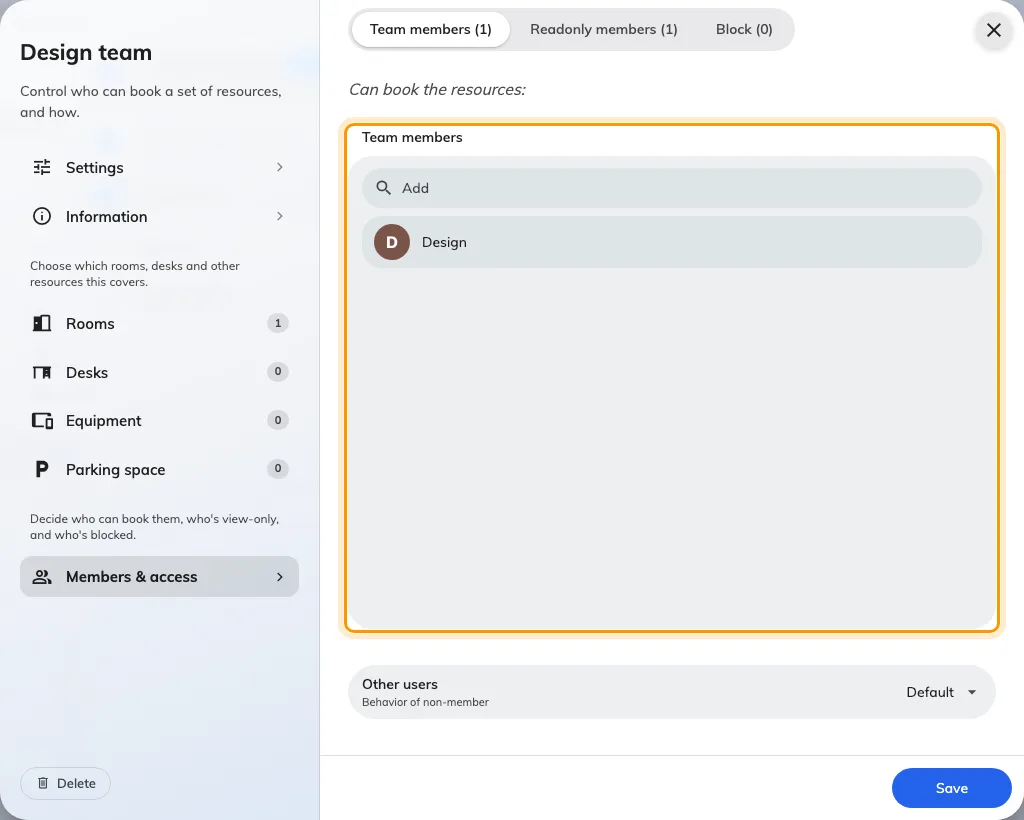
Team members: the group that can see and book these rooms.
5. Decide what everyone else gets
This is the step worth slowing down for, because the default is stricter than most people expect.
The second tab, Readonly members, is a genuine middle state — “Only check the resource schedule, but cannot book”. Those people see the room and when it is busy, which is what you want for anyone who needs to plan around a space without being able to claim it. In the user app the room appears with Book replaced by a greyed Readonly lock.
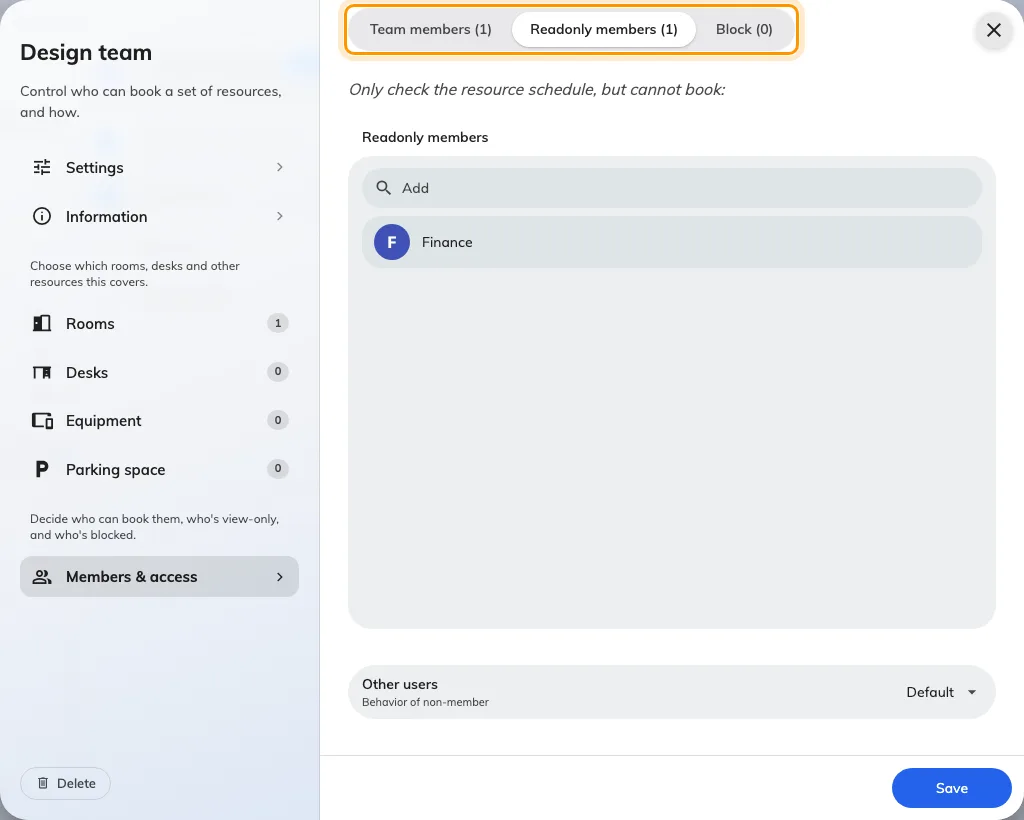
Three tabs: Team members, Readonly members, Block.
The third tab, Block, is the one to be careful with. Block wins over everything, including Team members — someone in both is blocked. Use it to carve an exception out of a large group, not as a general tool.
At the foot of the page, Other users decides what happens to everybody not named in any of the three tabs:
- Default — “No access to the resources”. The room disappears for them.
- Readonly — “Only check the resource schedule, but cannot book”.
- Full access — “Have the same permissions as team members and can reserve resources”.
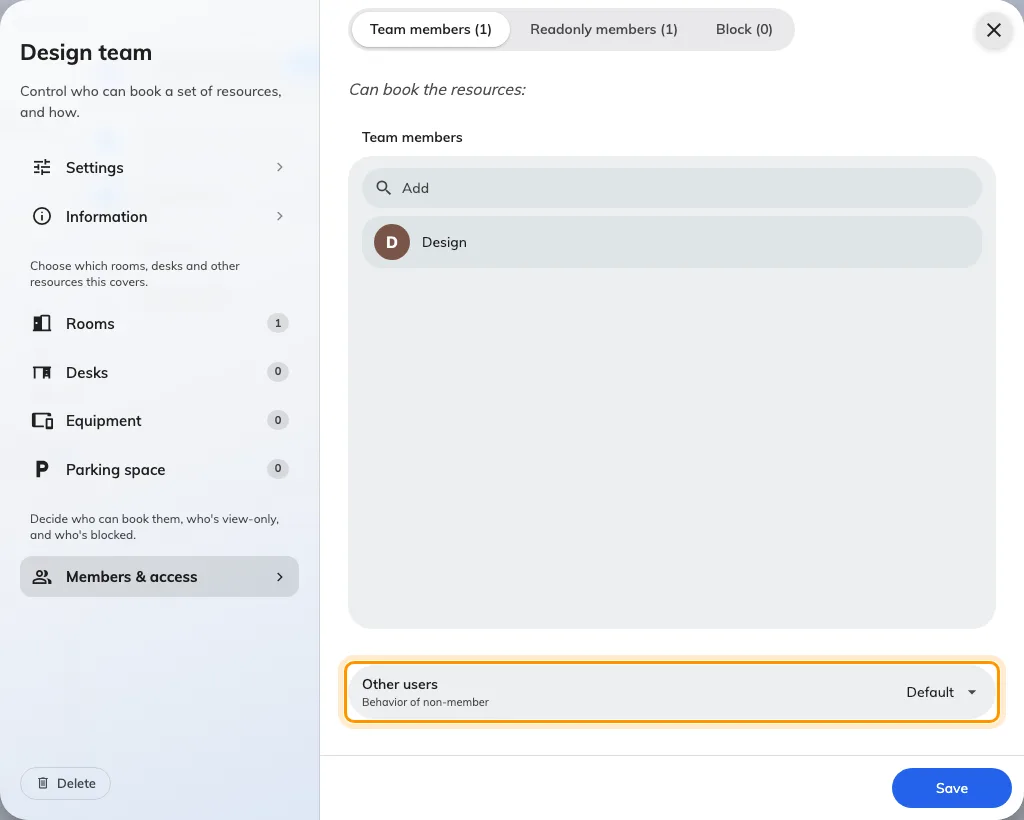
Other users: what people outside the team get.
Leave it on Default for a genuinely private space. Choose Readonly when the rest of the company should still be able to see that the room is busy — which is often the kinder answer, because a room that vanishes generates questions and a room marked read-only does not.
Save when you are done.
6. Check it worked
The admin console shows you every room whatever team space it is on, so checking there proves nothing. Search for one of the restricted rooms by name and it comes straight back.
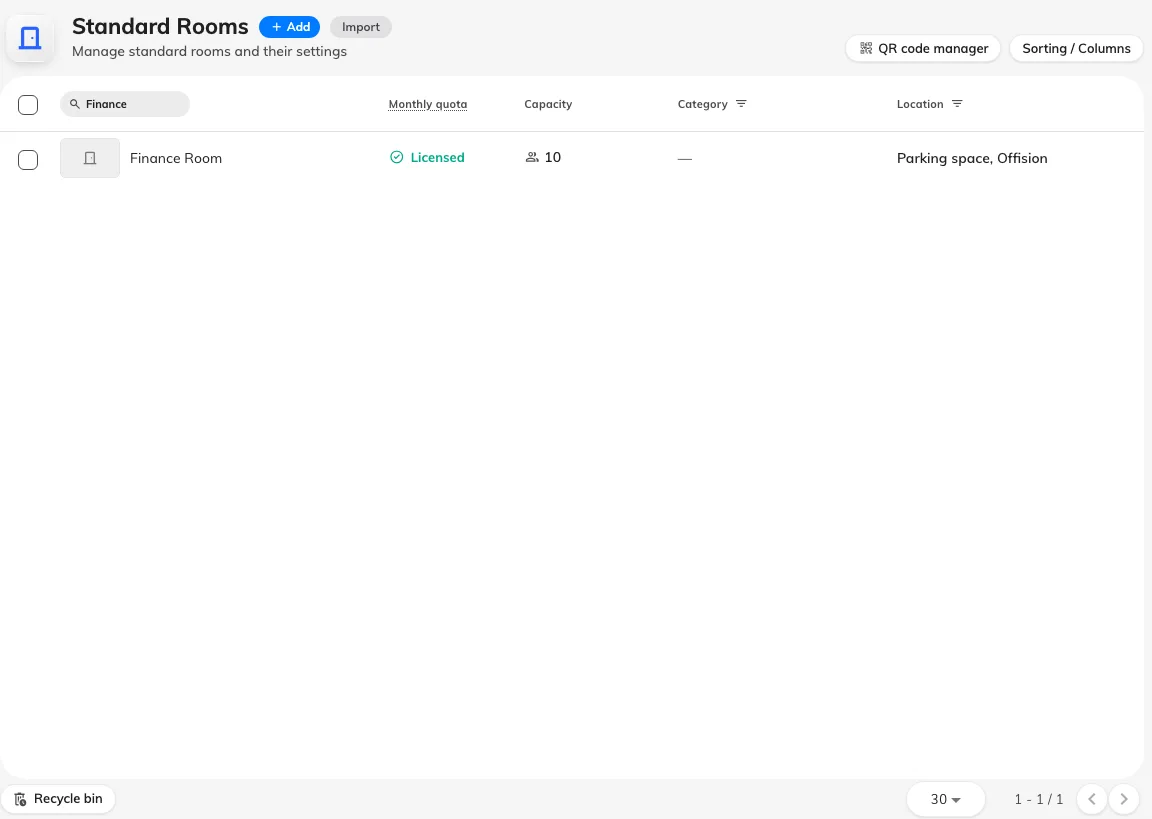
The room is plainly there in the admin list.
Now sign in to the user app as somebody outside the department and run the same search in Resource finder.
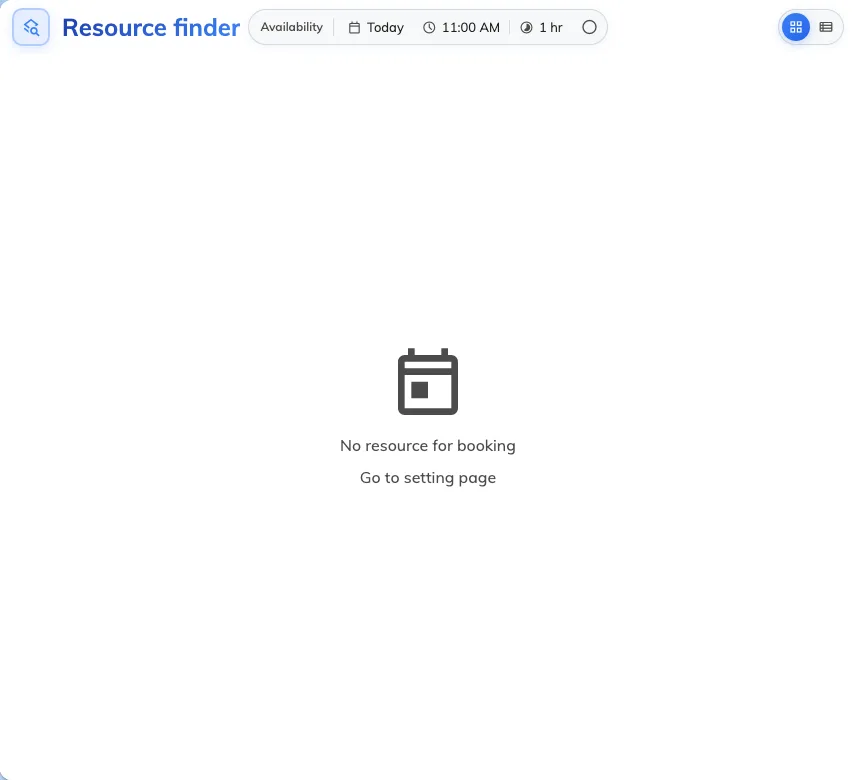
The same search for a non-member returns nothing at all.
That empty result is the feature working. A non-member does not get the room greyed out or marked unavailable — for them it does not exist. Which is exactly why the Readonly setting is worth considering: a read-only member does see the room and its schedule, with Book replaced by a disabled lock.
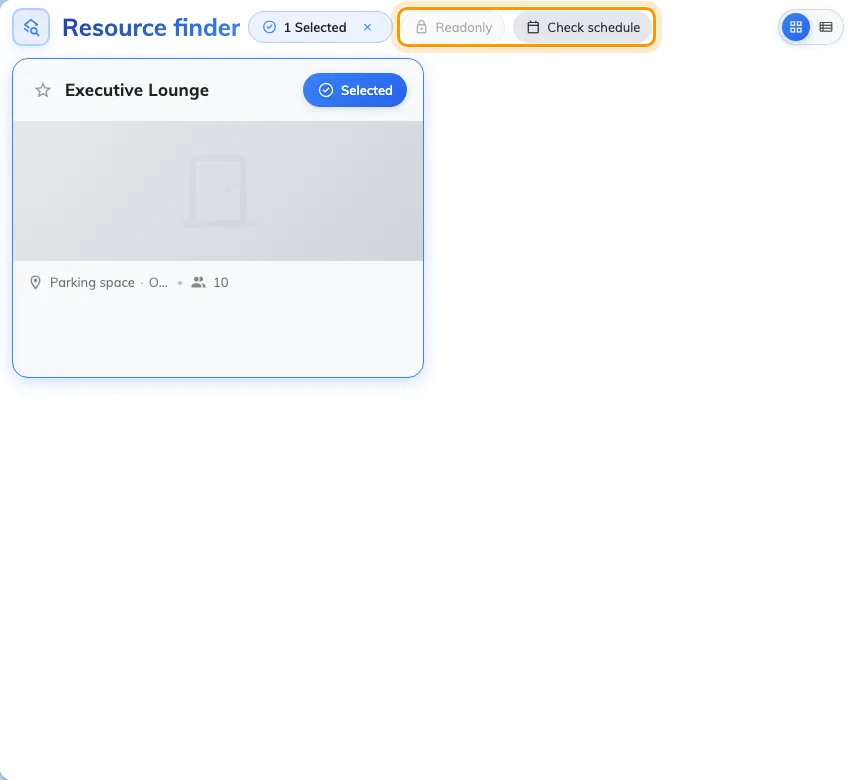
A read-only room: the schedule is visible, Book is not.