

Connect a Cisco Room Navigator
A Room Navigator runs no Offision app — RoomOS points its own browser at Offision instead, and the six-character code pairs it to a room. What the panel drives, what it does not, and how its light bar reads.
A Cisco Room Navigator runs no Offision app. Like a Crestron panel it is a screen with a browser, and RoomOS points that browser at Offision — so the panel Offision draws is a web page, and everything Offision can do on the Navigator is something a browser can do.
The pairing itself is the same as every other panel: the screen shows six characters and you type them into the console.
Supported model
The screen is 10.1 in at 1920 × 1200. Every certified panel, side by side, is in Which booking panel hardware Offision supports.
Connect it
Open Booking panel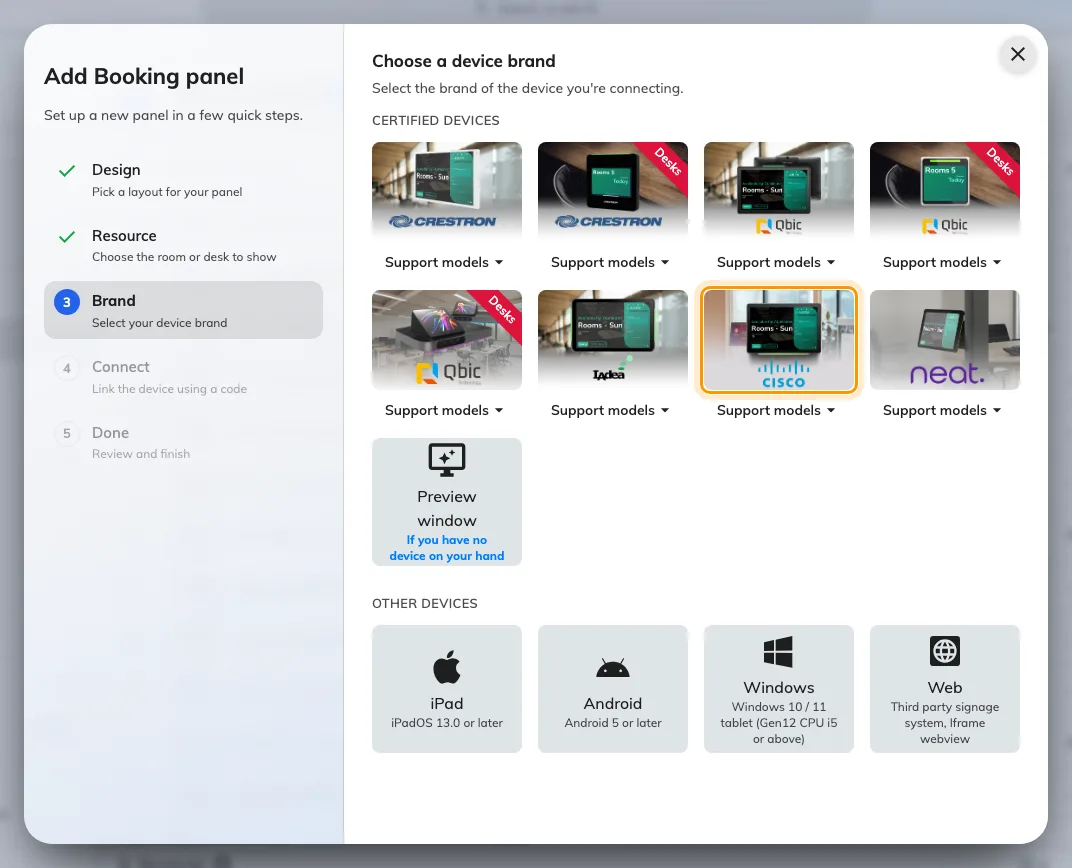
The certified devices in the connect wizard, with the Cisco tile.
Setup is two halves: the Navigator is enrolled and pointed at Offision in Webex Control Hub, and then claimed in Offision with the code it shows. Take Cisco at the Brand step and the Connect step waits with the six-box field while you do the first half.
1. Add the device
Open Control Hub › Devices and choose Add device.

Devices in Control Hub, and Add device.
2. Choose Shared usage
A booking panel belongs to a room, not to a person. Then Next.
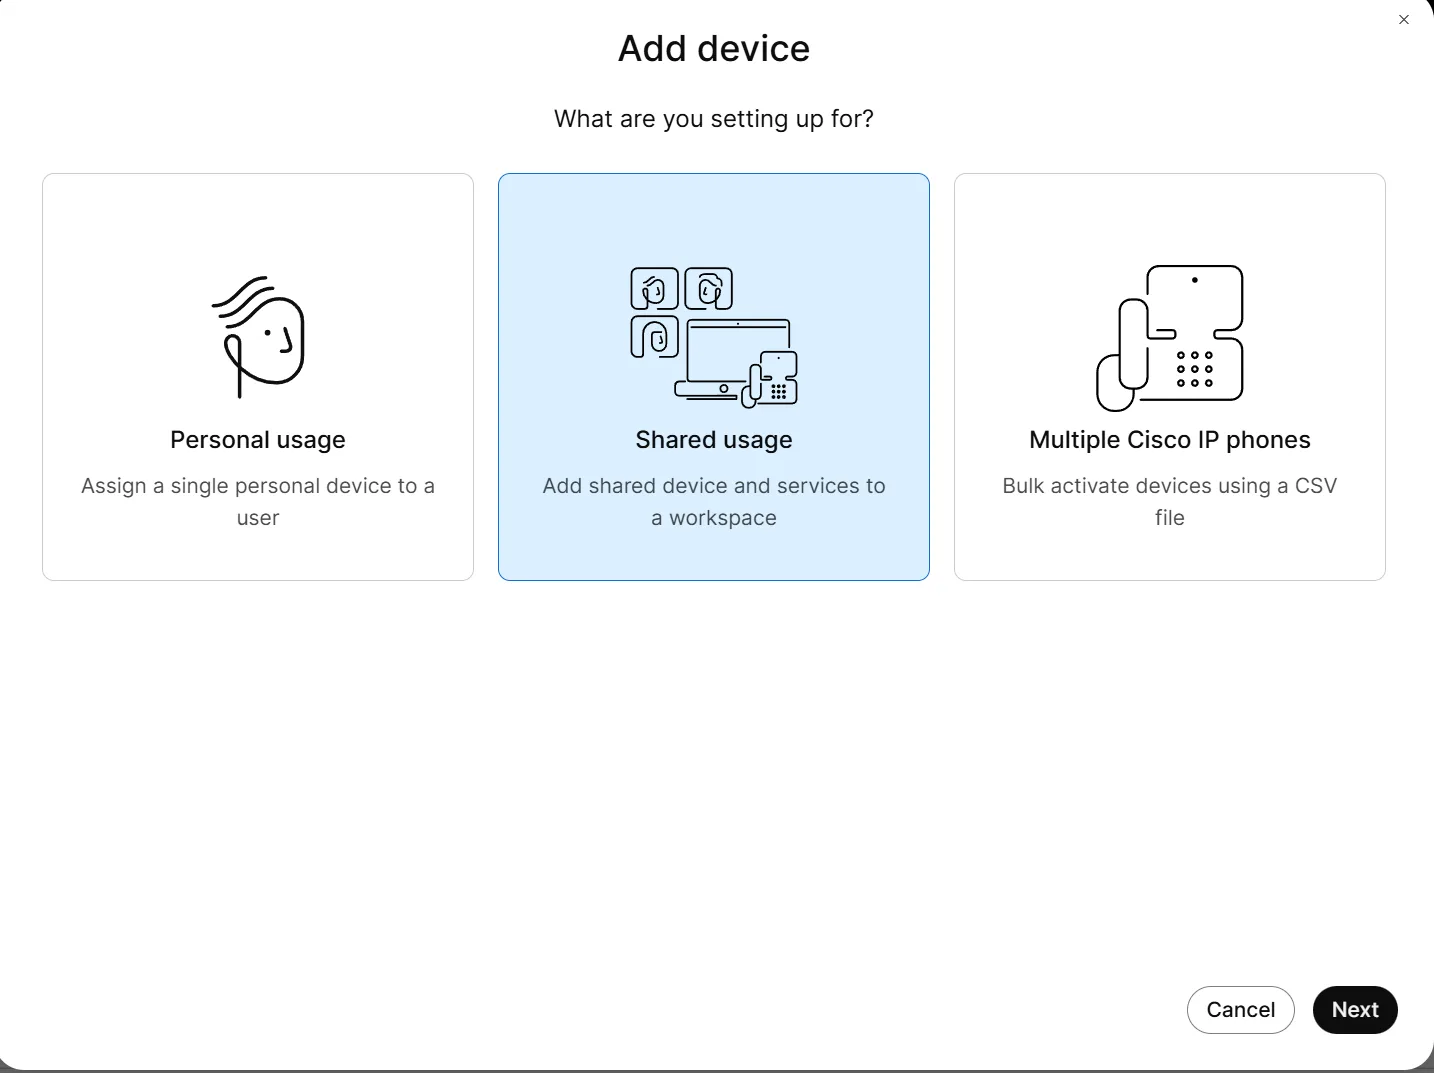
Shared usage, for a device a room owns.
3. Choose New workspace
Then Next.
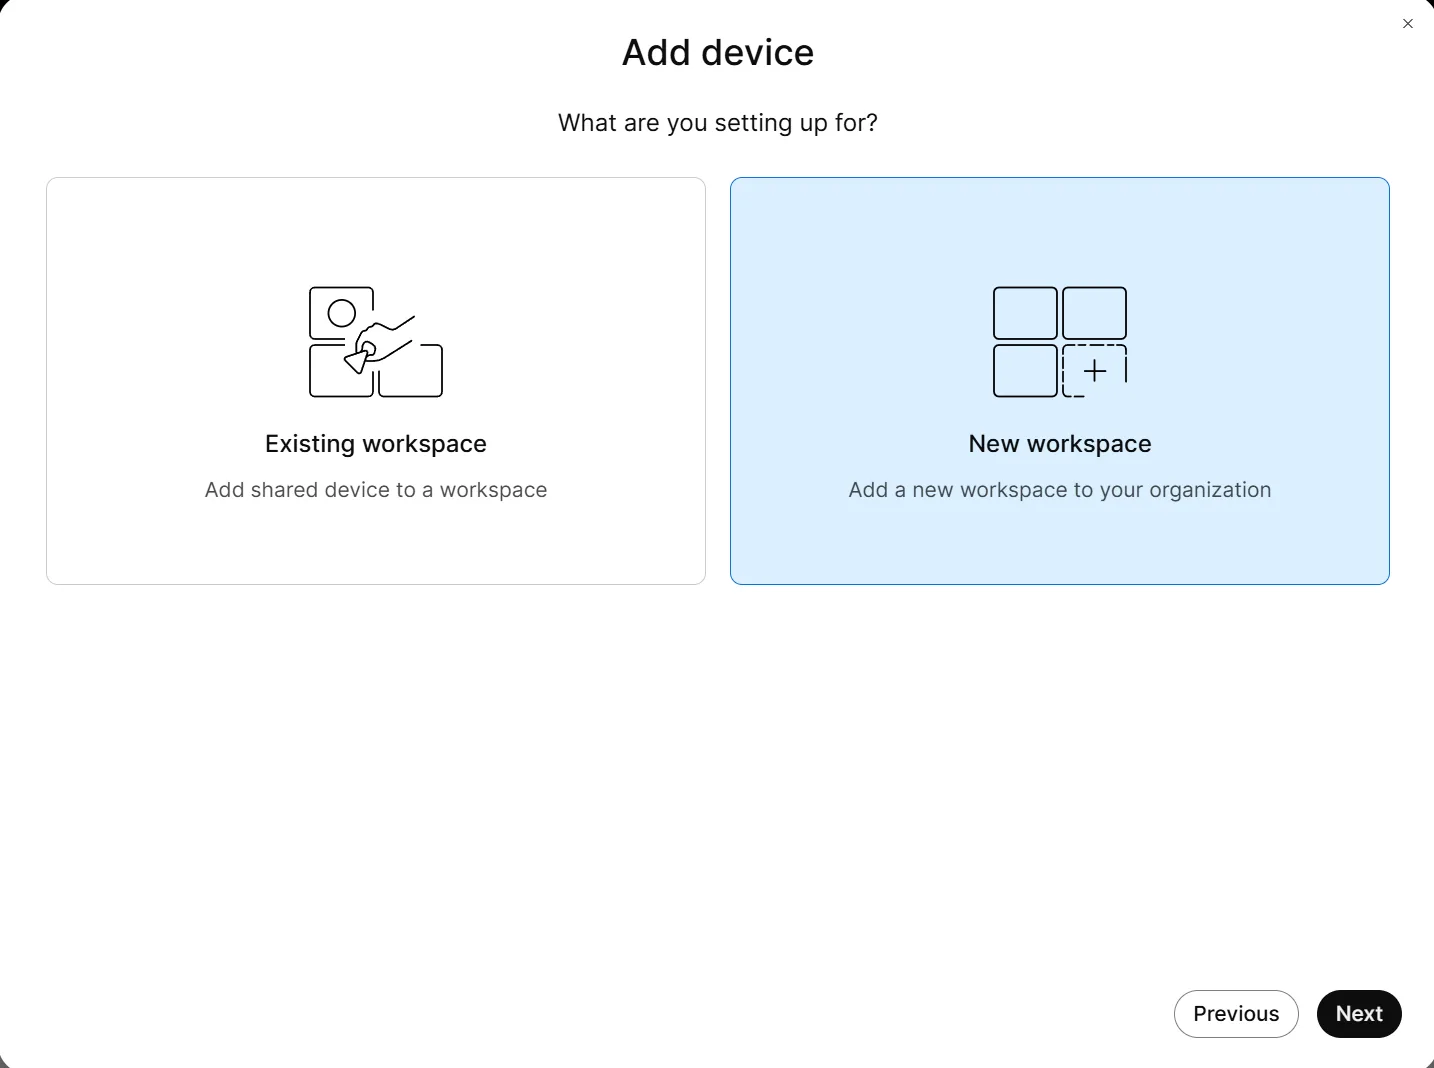
New workspace.
4. Describe the workspace
Set its name, type, capacity and location, then Next. This is Cisco’s own record of the room: it does not have to match the room’s name in Offision, and nothing syncs between the two.
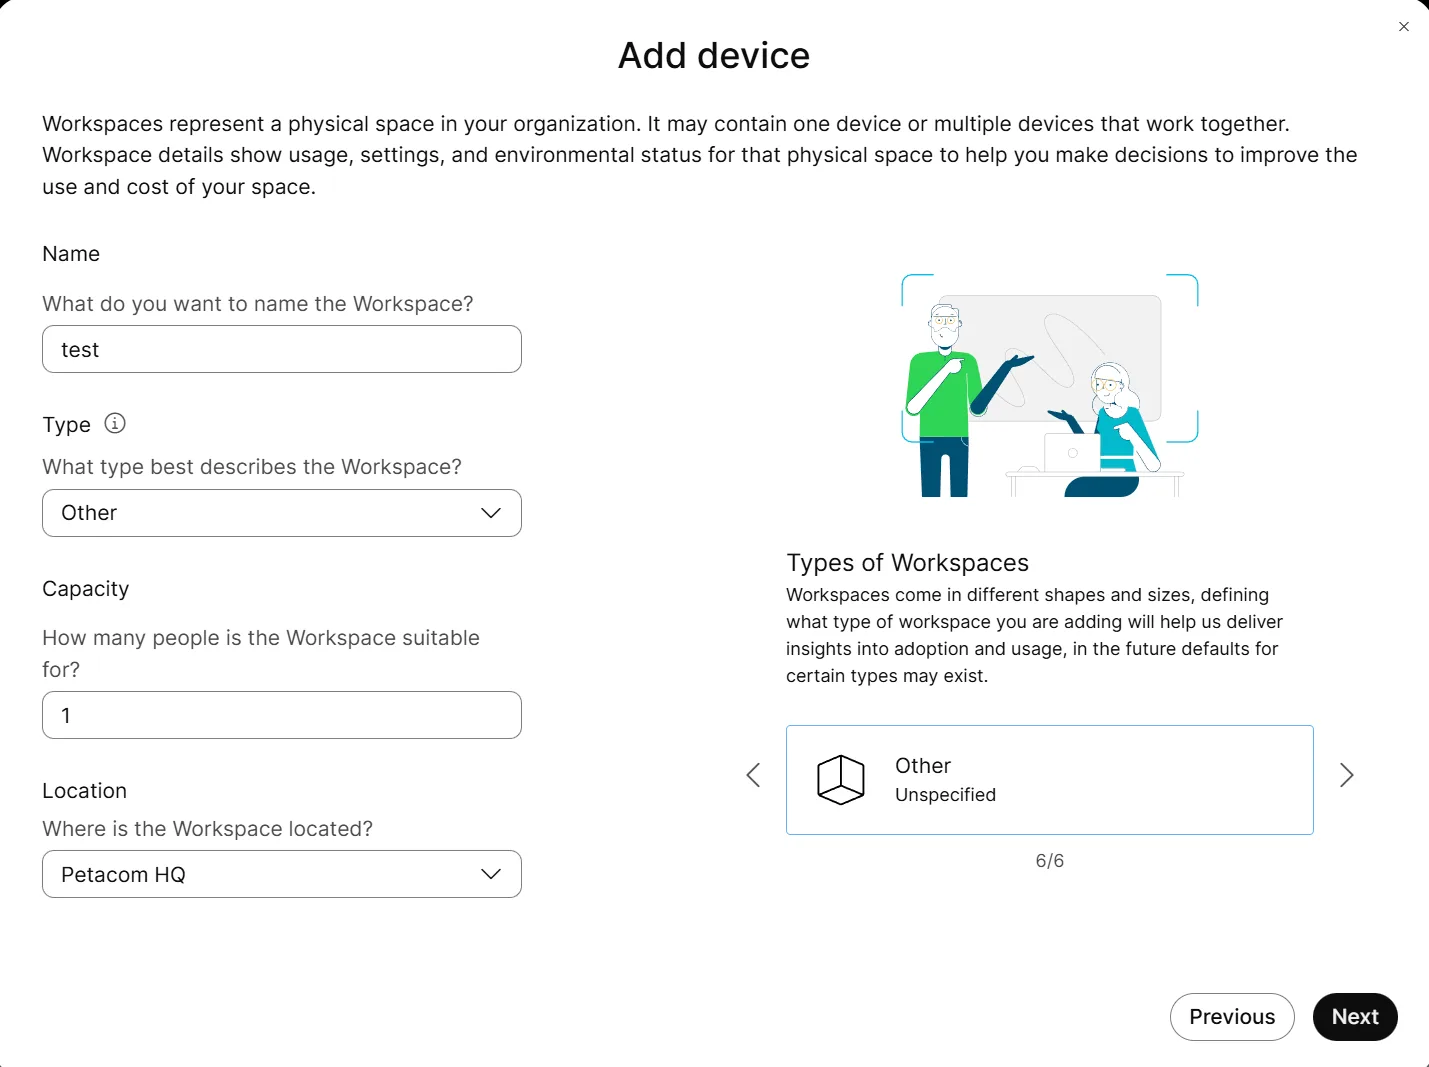
The workspace’s name, type, capacity and location.
5. Choose the device type
Cisco Room and Desk device, then Next.
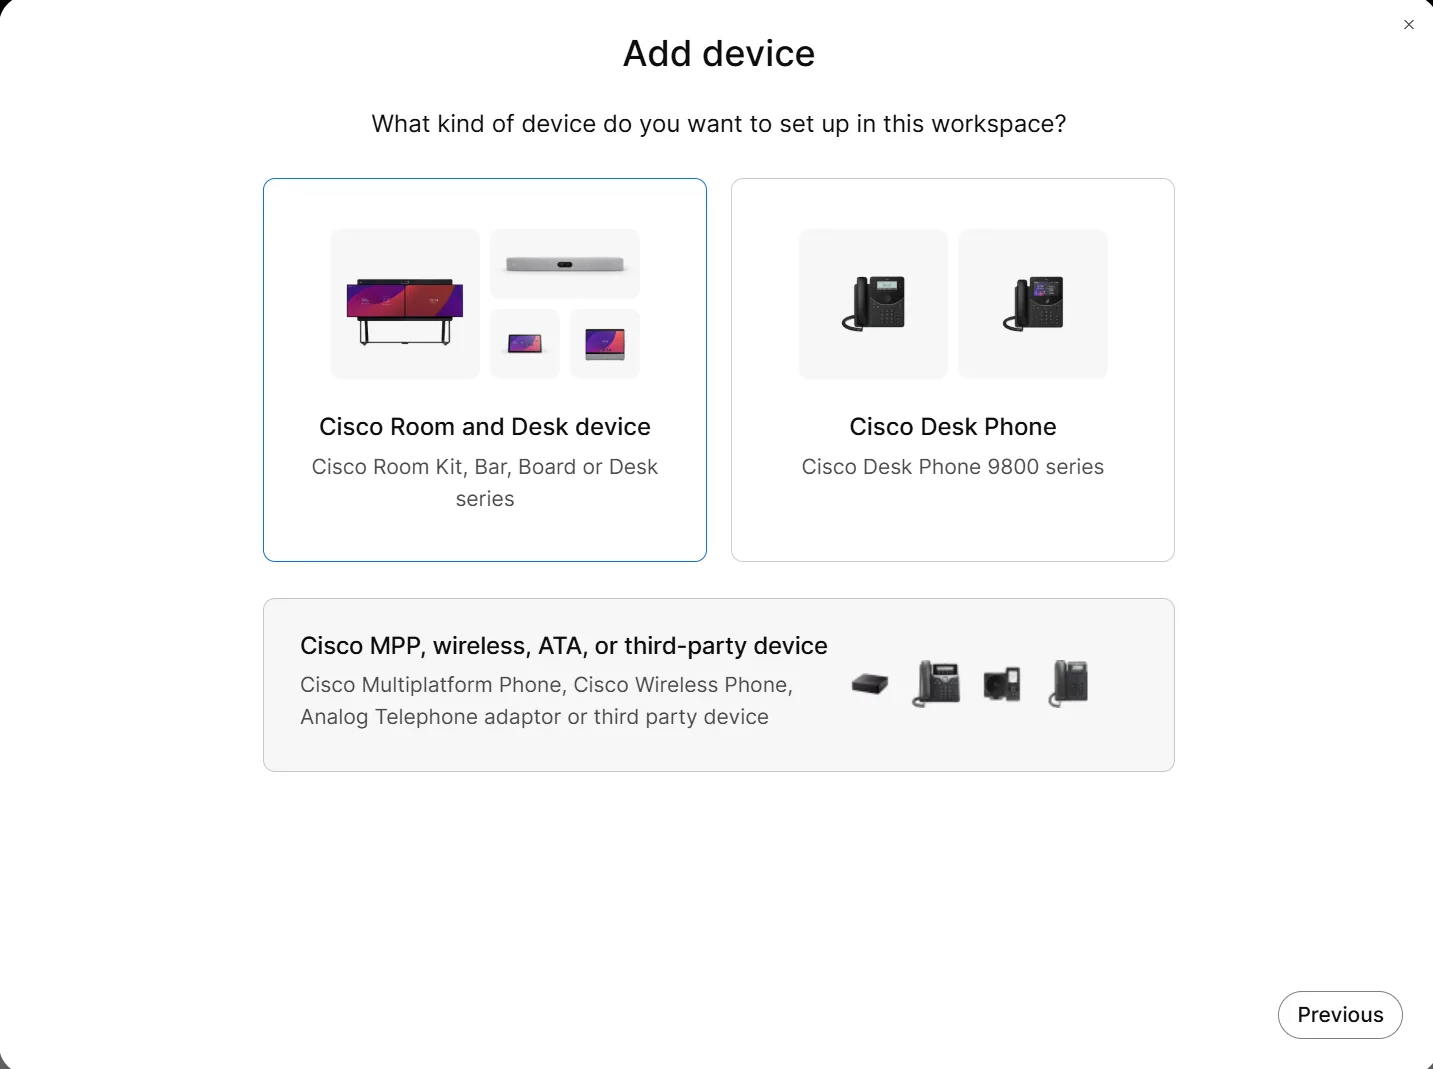
Cisco Room and Desk device.
6. Set Calling to None
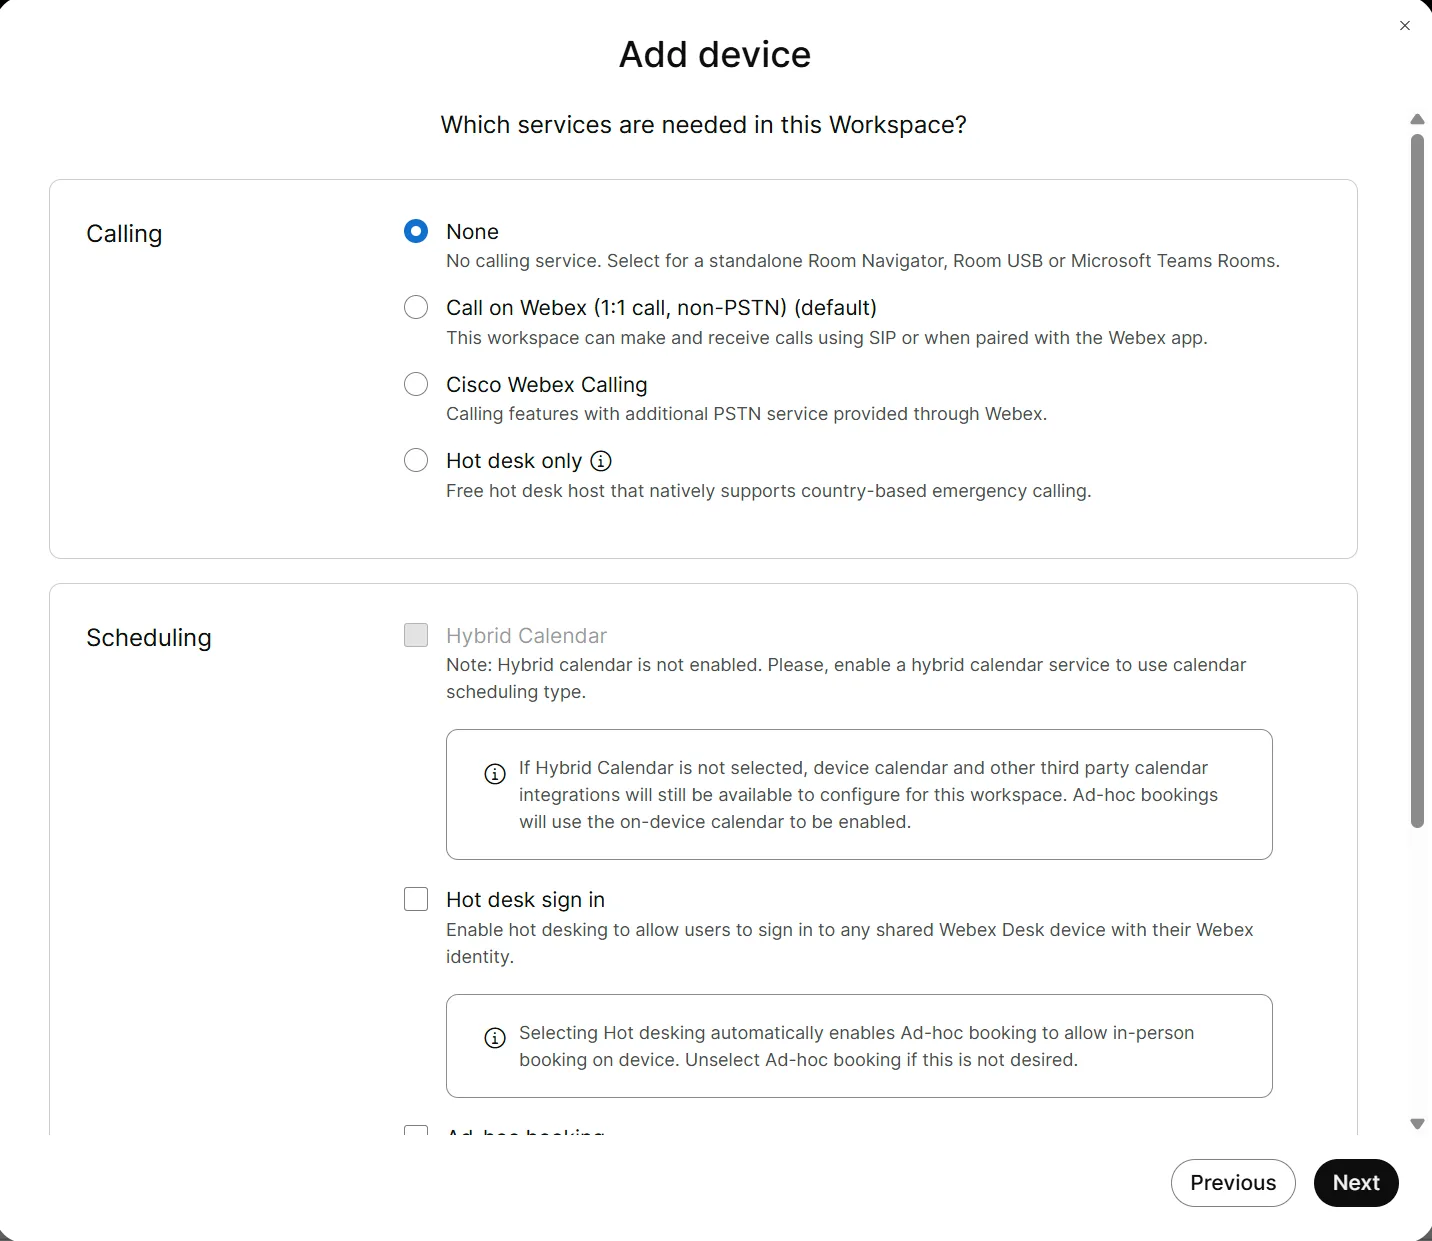
Calling, set to None.
7. Set Meetings to None
Then Next. Both are deliberate: this device is a booking panel, and leaving either service on puts Cisco’s own call and meeting screens in front of Offision’s.
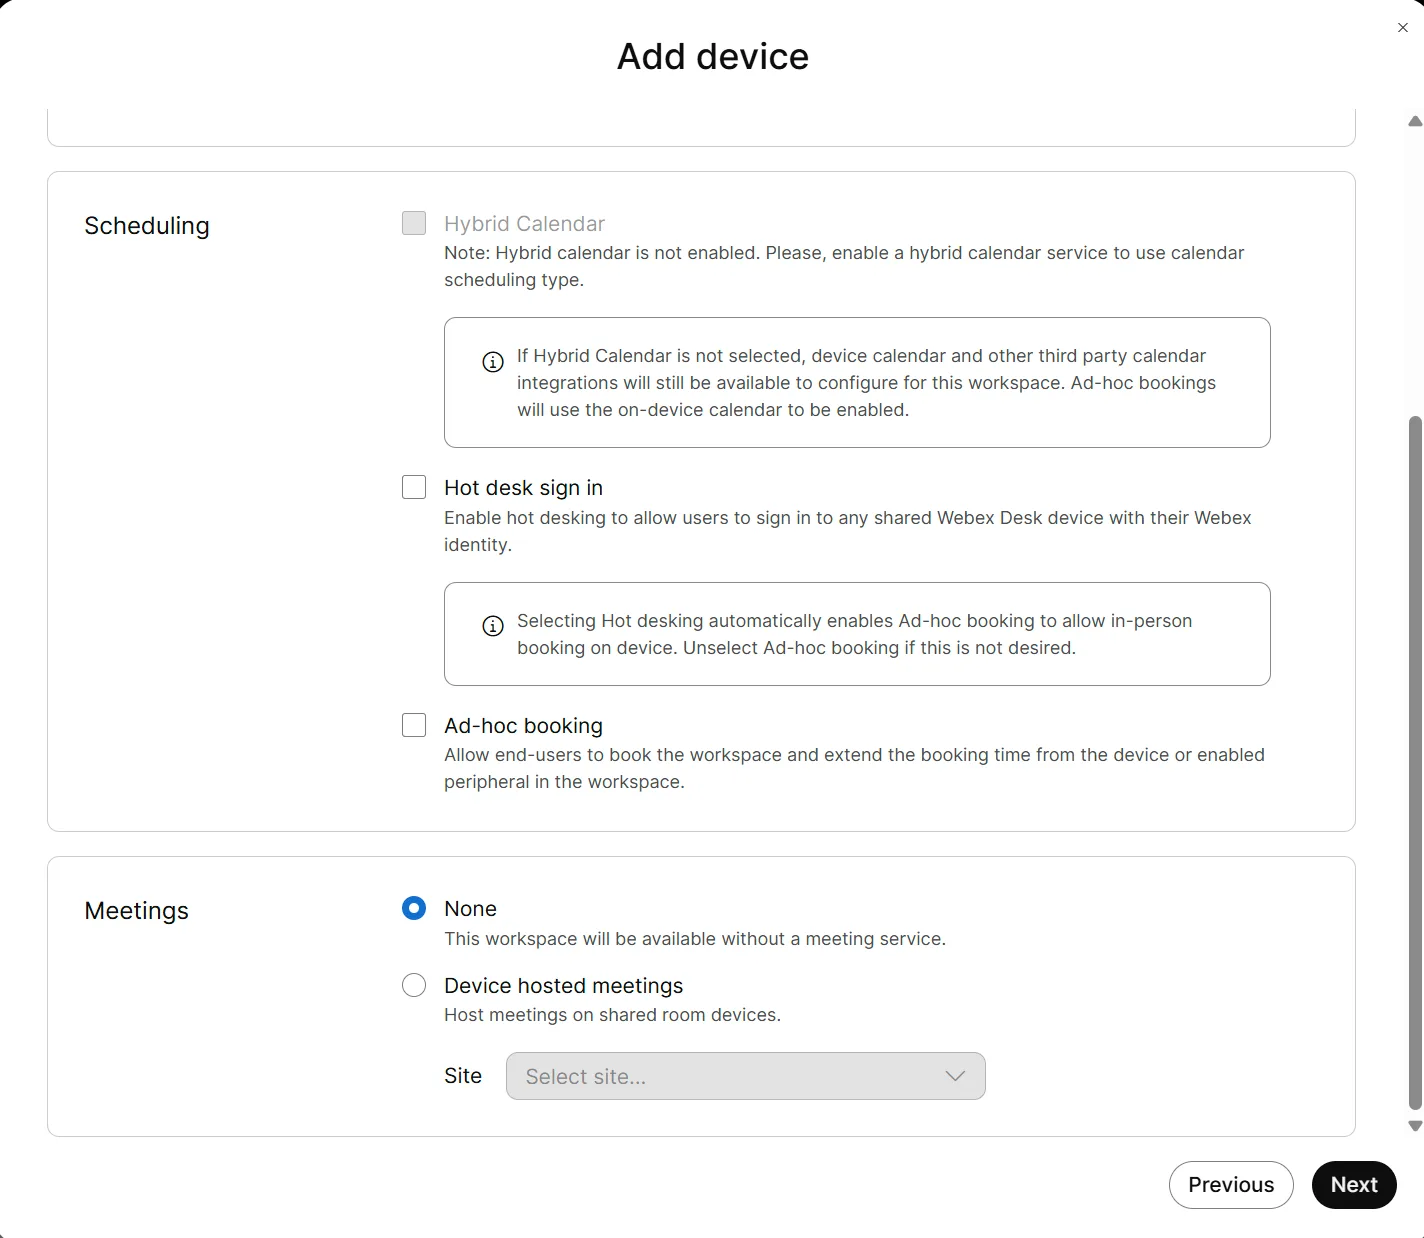
Meetings, set to None.
8. Activate the Navigator
Enter the Activation Code on the Navigator itself, then Go to Workspace. It is a one-time password and it expires, so activate the device while it is in front of you.
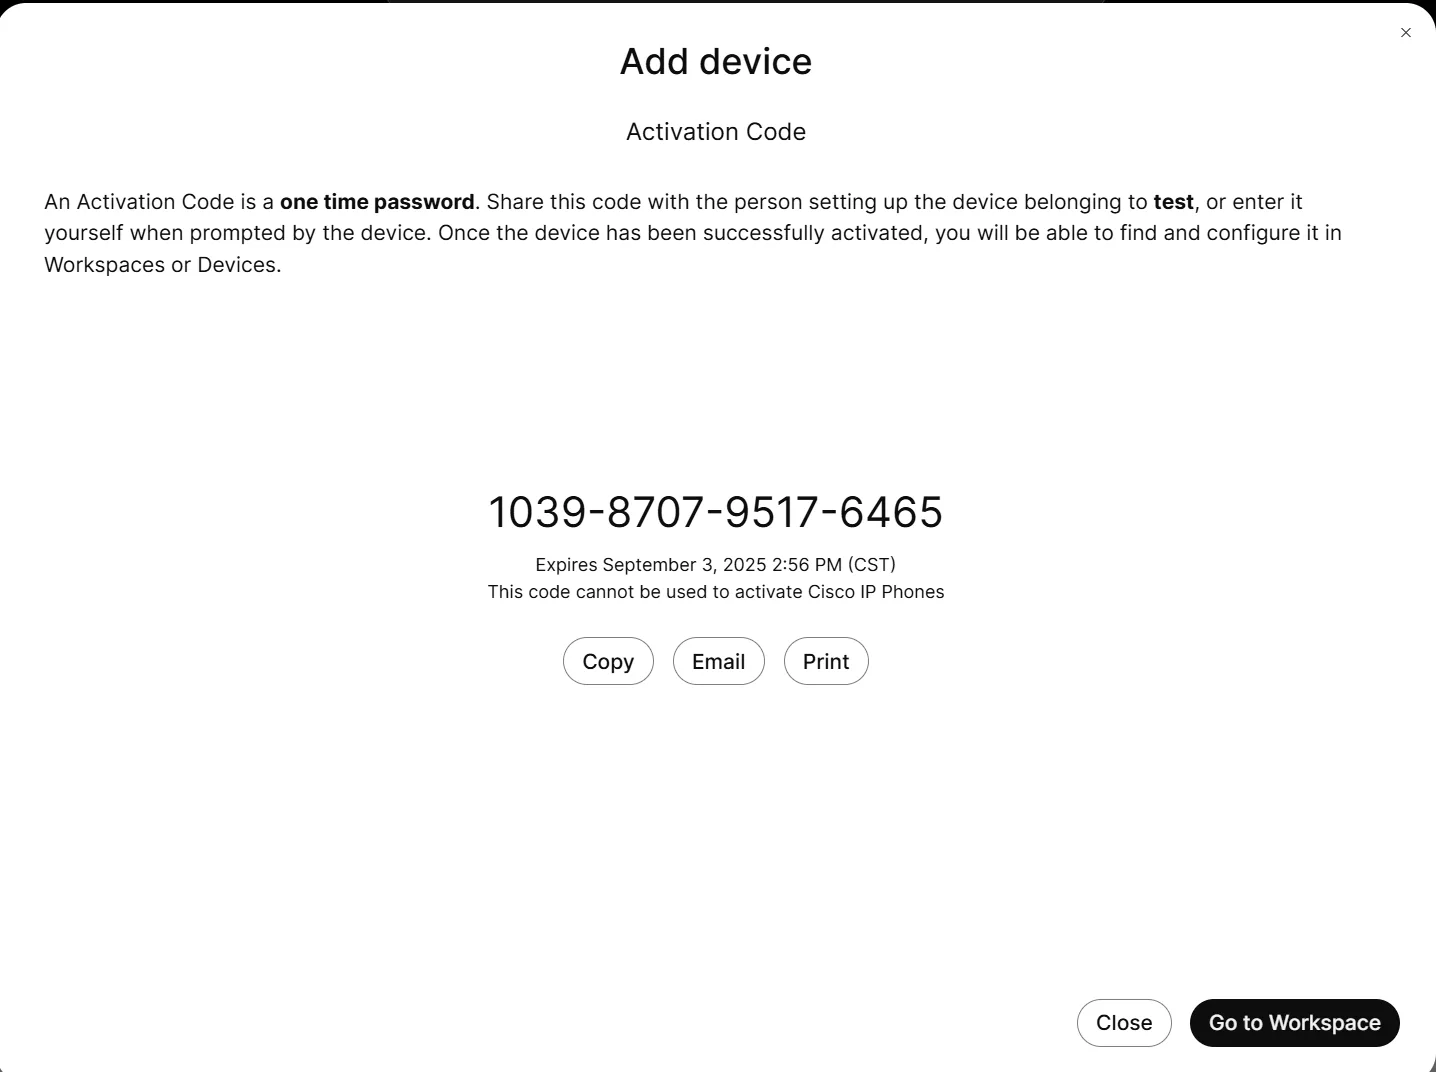
The activation code, to type on the panel.
9. Open the device you just added
In the device list, open it to reach its settings.
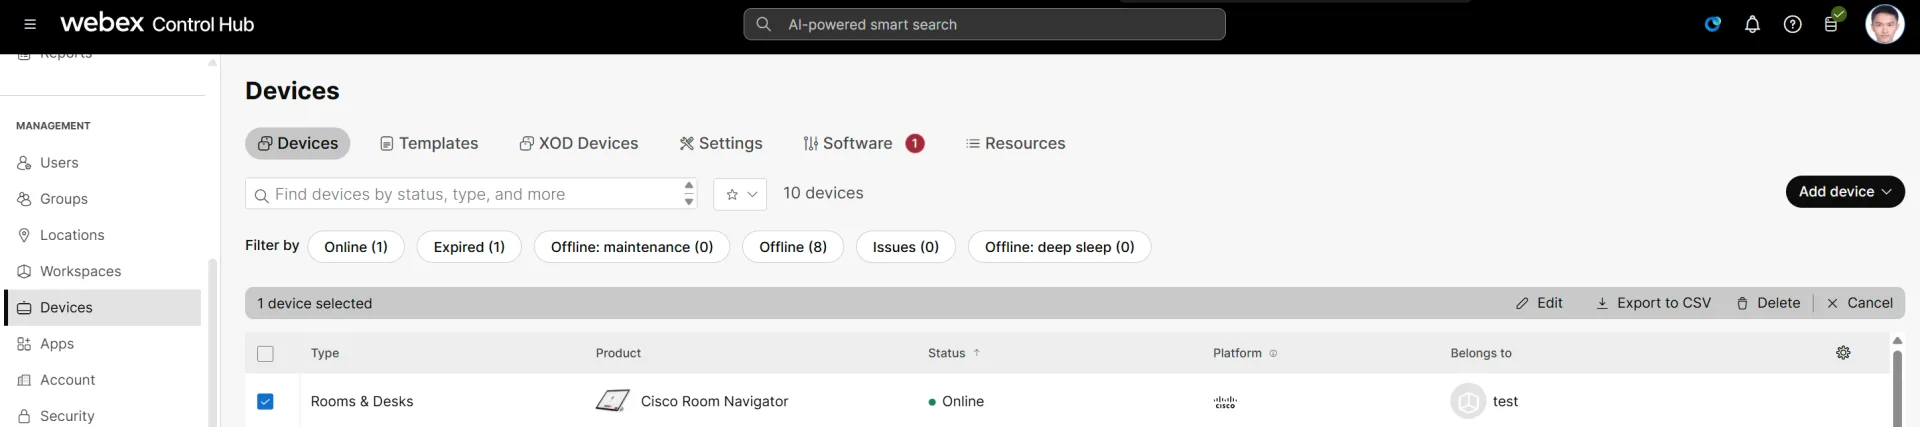
The new device in the list.
10. Open All configurations
Under Configurations.
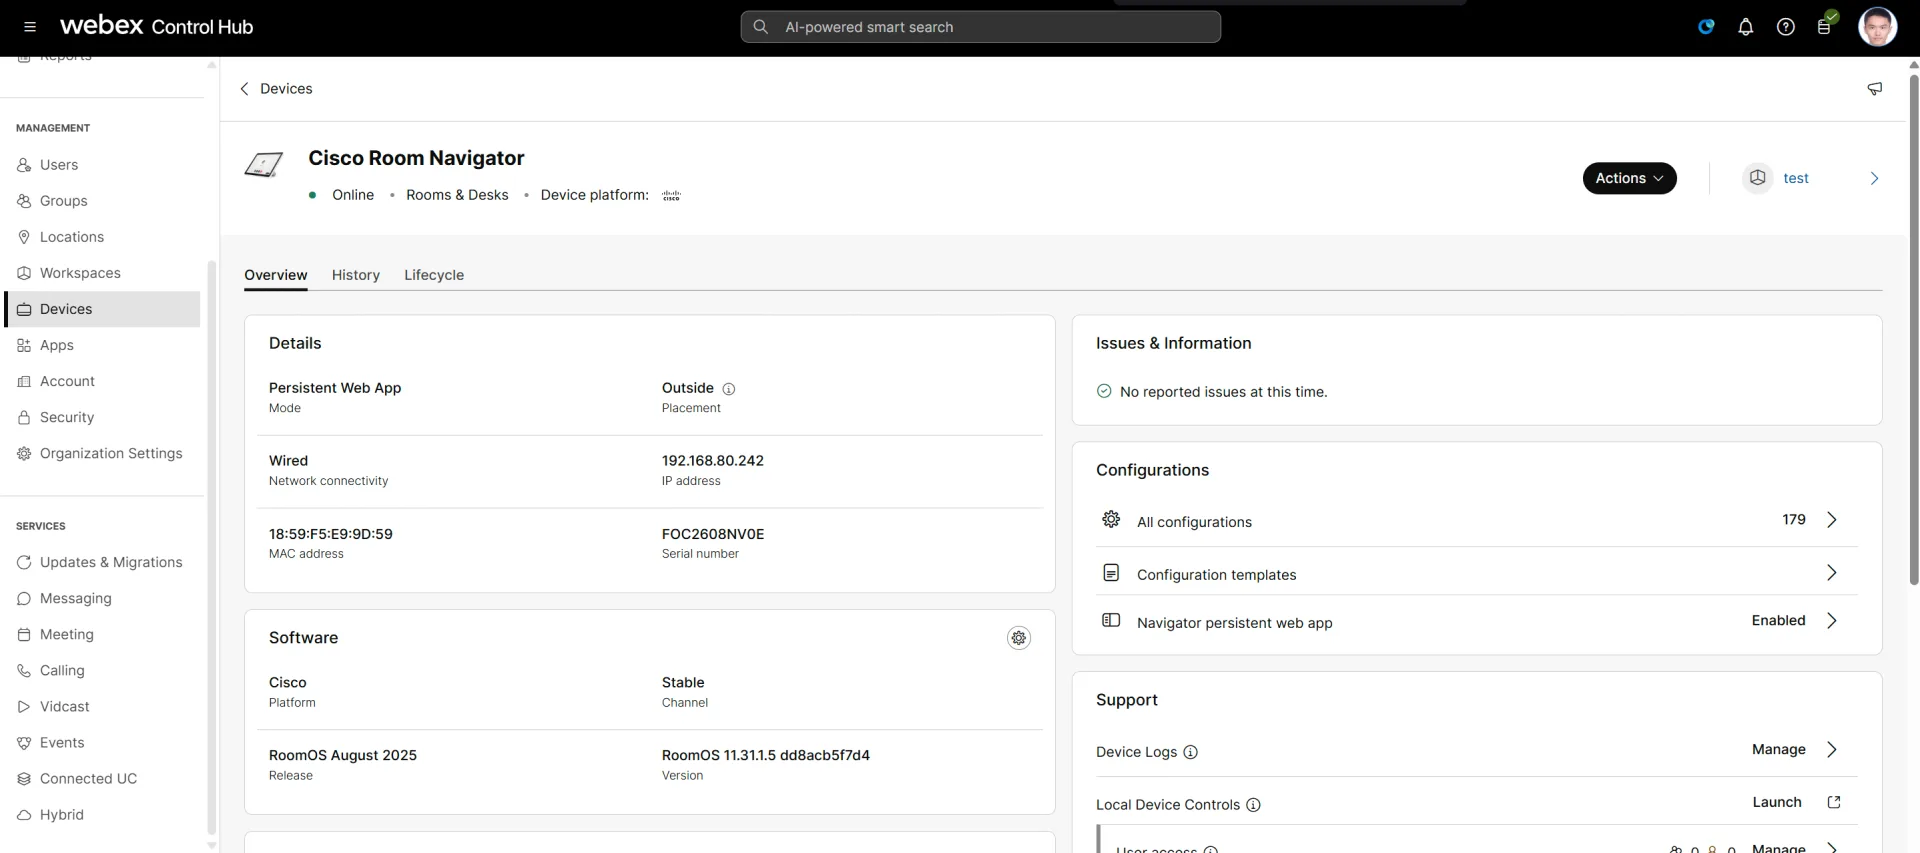
Configurations, and All configurations.
11. Find the WebApp URL setting
Search for webapp and take
UserInterface › HomeScreen › Peripherals › WebApp › URL.
There are three near-identical matches; it is the one ending in URL.
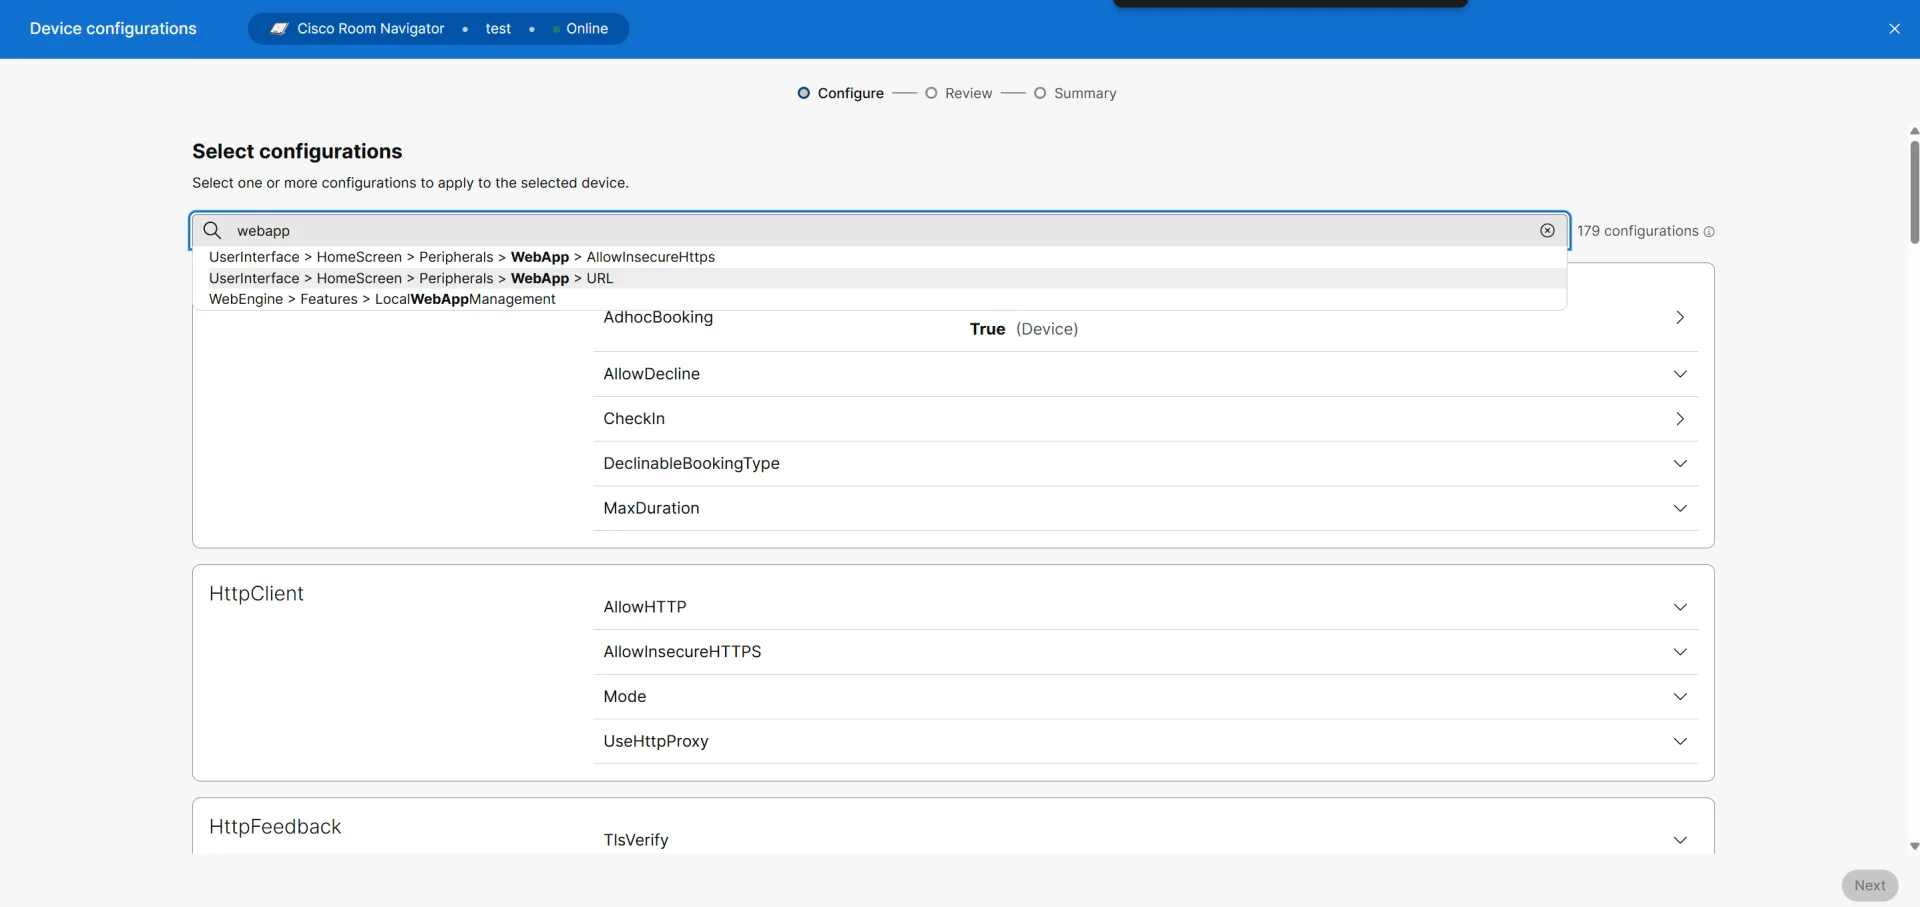
Searching the 179 configurations for the WebApp URL.
12. Set it to your player address
https://app.offision.com/player
Save your changes.
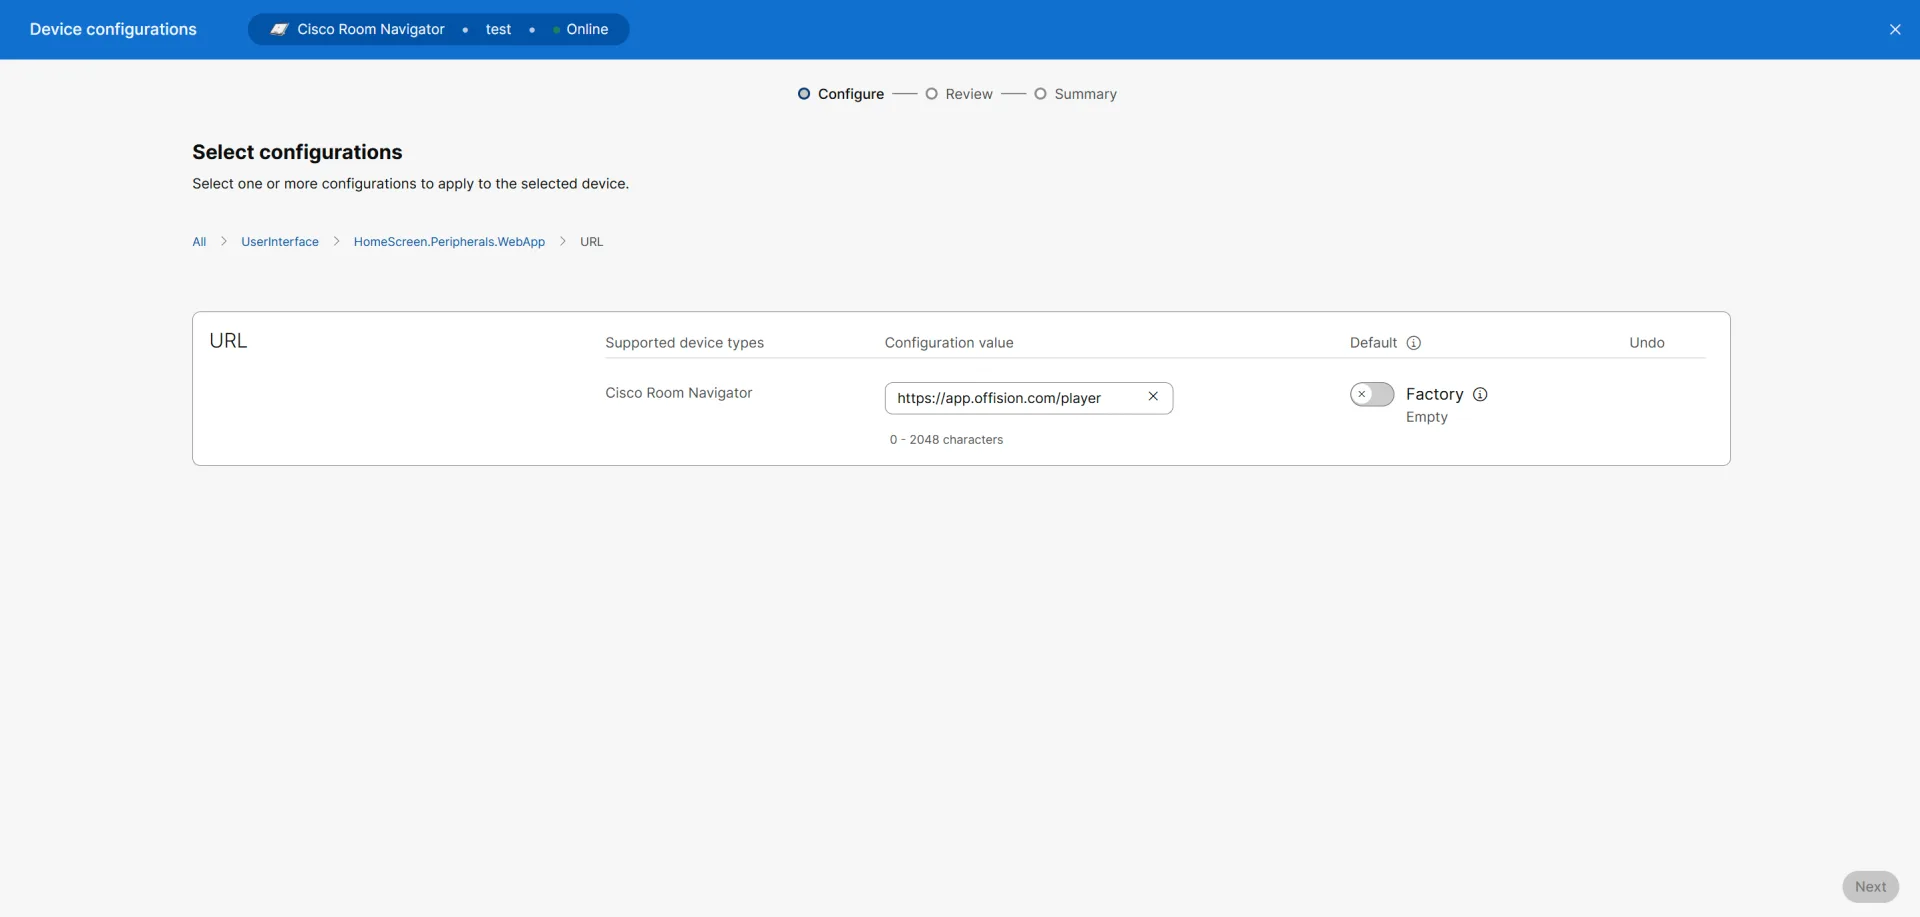
The URL field, with the player address in it.
13. Read the code off the panel
The Navigator loads Offision and settles on a screen showing six characters.
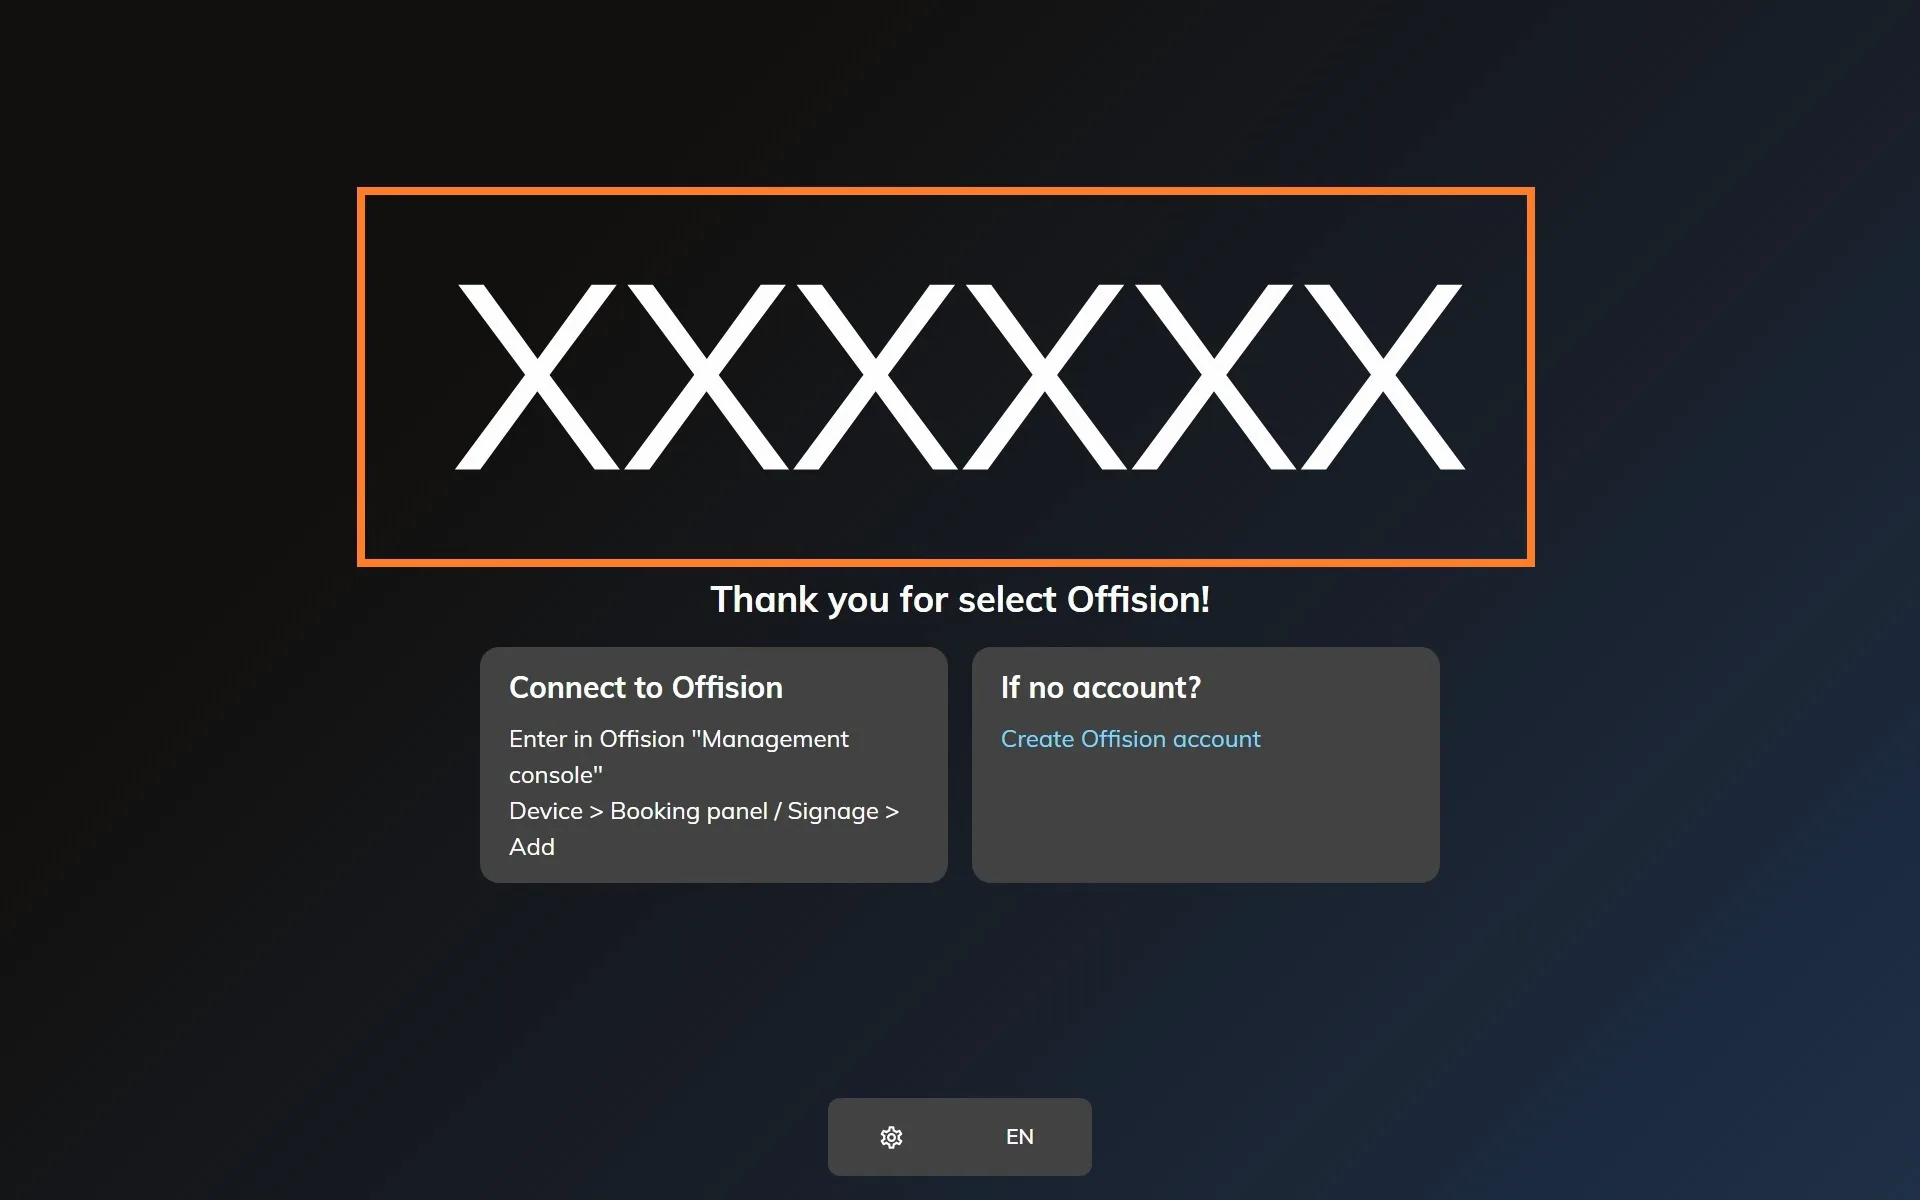
The Navigator, waiting to be claimed.
14. Claim it in Offision
Type those six characters into the Connect step’s field; it submits itself on the sixth. Within a few seconds the panel stops showing the code and starts showing the room.
What Offision drives on it
The light bar, in five colours of seven. RoomOS does not reproduce the whole Offision palette: yellow appears where the palette says orange, and blue where it says cyan. The meanings are unchanged — see What the panel colours mean — two of them simply arrive in a neighbouring colour.
Cards, through a USB reader. The Navigator has no card reader Offision can read, so tap-to-check-in needs a USB reader at the panel. HID Global cards decode on IAdea panels only.
Occupancy. The panel reports whether the room is occupied, so a booking can release itself when nobody arrives.
What it does not do: no label printing, no offline media storage, and no remote reboot from the console — the Navigator’s own settings stay in Cisco’s hands, in Control Hub or on the device.