

Show your company logo on a room panel
Put your logo on the booking panel outside a room. About five minutes: where the setting lives, what size the image has to be, and which panels it reaches.
1. Open Panel configurations
Go to Devices › Booking panel › Panel configurations.
Open Panel configurations2. Open the Design page
Click the configuration your panels use. A detail panel opens on the right — choose Edit there, then Background & logo, the first group under the left of the editor.
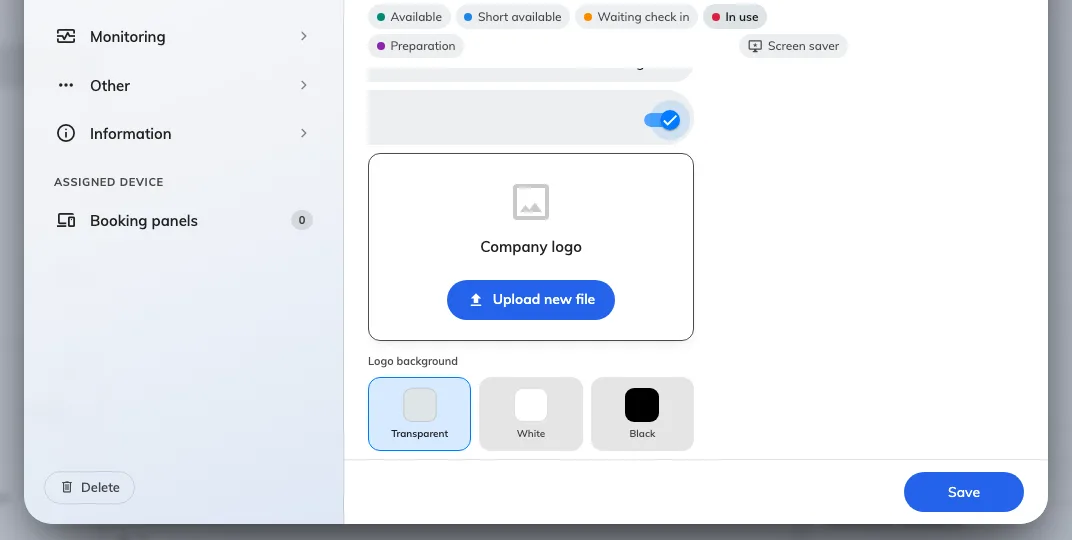
Background & logo, the first group of a configuration's Room booking panel page.
Whatever you set here reaches every panel assigned to this configuration, and no others. Where only some rooms should carry the logo, give them a configuration of their own rather than editing the one everything shares.
3. Turn on Show company logo
Switch on Show company logo. The upload appears underneath only once the toggle is on, and with it the ground the logo sits on.
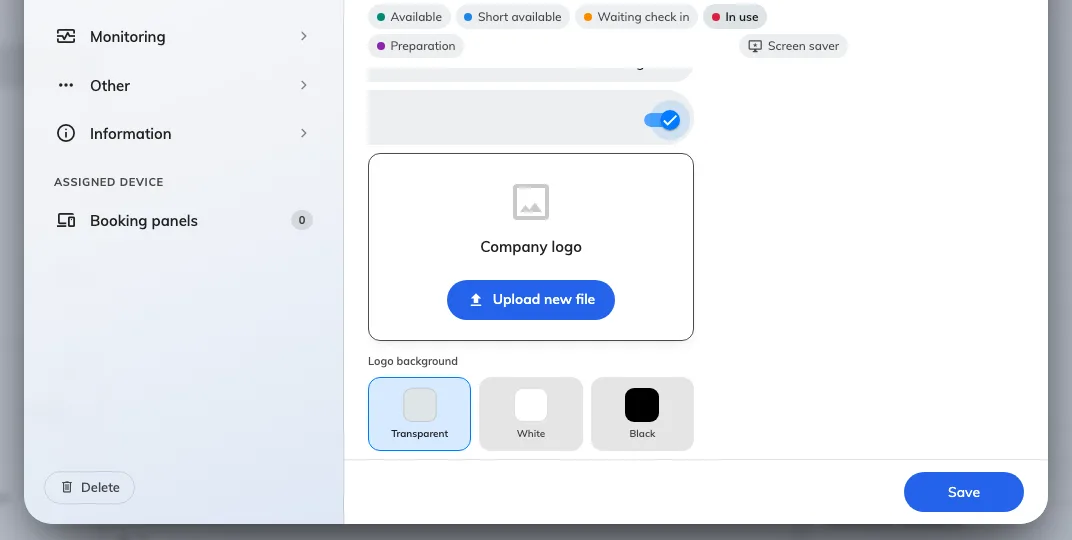
Show company logo, with the upload and the ground it reveals.
Upload the image and the crop window opens at the panel’s own proportions — 336px × 144px, saved as PNG — with the box already centred at the largest size the picture allows. A wide mark at about that ratio comes through untouched; a square or portrait one has to lose something, and the window is where you decide what: Zoom in and Zoom out with the slider beside them, Rotate left and Rotate right, Flip horizontal, and Reset to start again. A picture with a transparent background is shown on a chequerboard, captioned Transparency kept, so you can see what is see-through while you crop it.
Logo background sits beside the preview, as three choices in one control: Transparent, White or Black. Transparent is the default, and it is right until the background behind it is dark or busy — then a logo cut out for white paper sinks into it. Choose White or Black rather than re-cutting the file. The preview follows whichever you pick: White and Black paint their real colour, so a logo that would disappear on the panel disappears here first, and Transparent shows the chequerboard rather than pretending to be white.
4. Save
The save bar sits at the foot of the editor.
5. Check it worked
Look at a panel outside one of the rooms. The logo sits in the top corner alongside the room name.
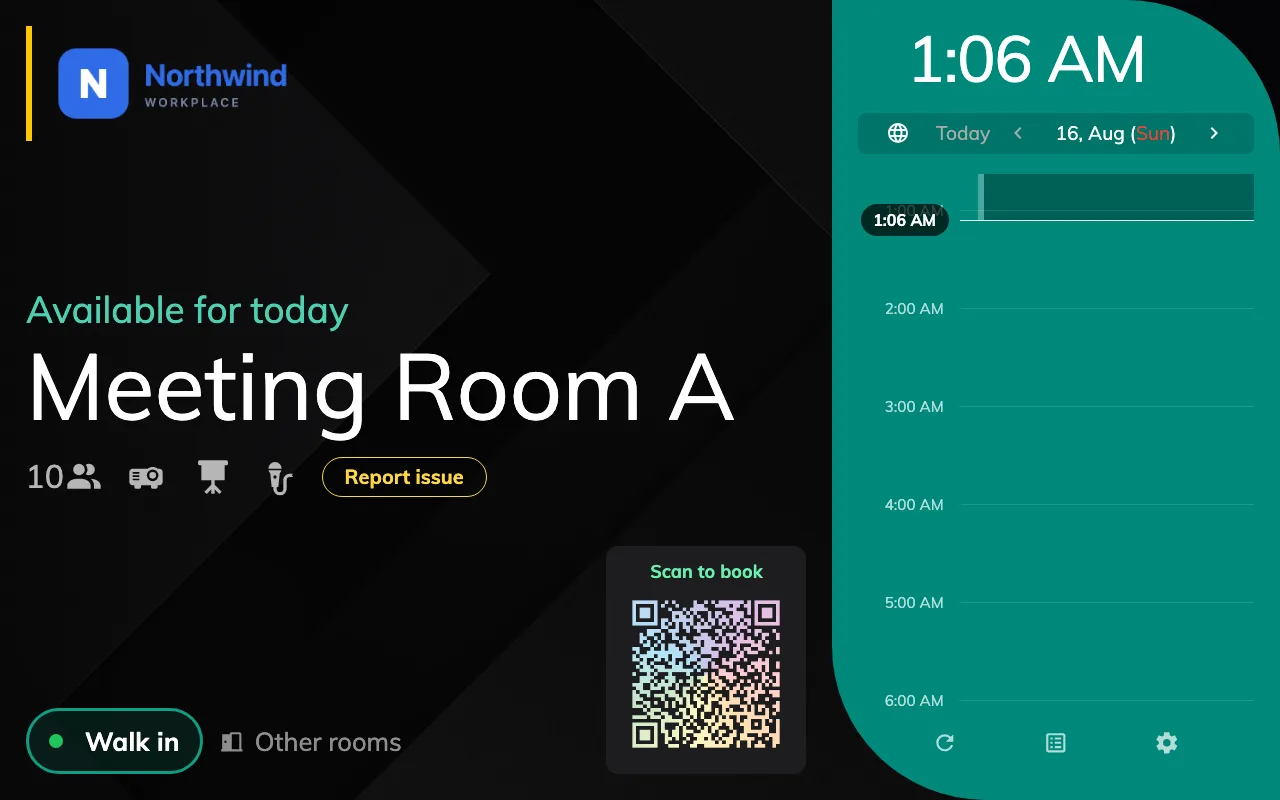
A room panel showing the logo.