

Open a building to visitors
From a building that merely exists to one guests can be invited to: enable visitor invitations, give it a visiting policy and an opening hour, name its receptionists, open its floors, rooms and parking, and know where the monthly visitor count sits.
1. Enable visitor invitations
The Visiting location page lists every building, open to visitors or not. Tick the building’s row and its panel opens on the right; on a building not yet open, the one action there is Enable visitor invitations — press it.
The same panel is where a building is later taken back out of service: Disable visitor invitations, at the bottom.
2. Give it a policy and an opening hour
With the building enabled, press Edit on its panel. The dialog’s settings are split into pages down the left — Settings, Receptionist, Floors, Rooms, Parking, Information — and it opens on the first.
- Visiting policy is the rule set for visits here: whether they need approval, whether vehicles are registered, what the badge code does. Policies are shared — pick an existing one or add one from here.
- Opening hour is when visitors may be on site. Underneath it a line shows the time zone the choice results in, and where that zone came from: the hour’s own zone if it names one, otherwise the building’s position on the map, otherwise the system zone.
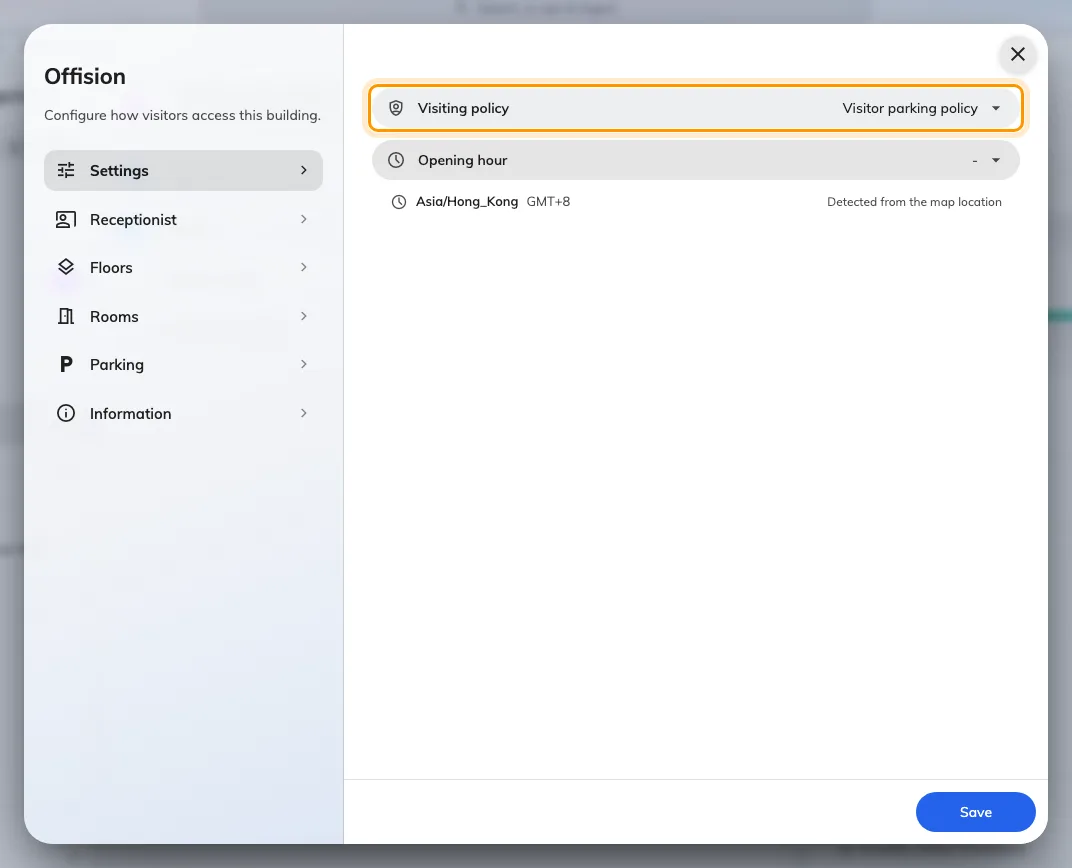
Settings: the visiting policy and the opening hour, with the resulting time zone spelled out underneath.
On the same Settings page, Visiting purpose selects All or Specify. With Specify, choose at least one Specific purposes entry. Default purpose can be one of those offered, or No default. A sole available purpose is selected automatically; with several and no default the employee chooses. Save, then open an invitation for this building and check its list and initial selection. See Building defaults and deleting purposes.
3. Name the receptionists
Receptionist, the second page, takes people and user groups together. Everyone named here can open this building’s desk in the app and sees its visitors — and only its visitors. Prefer a user group where one exists, for the same reason as everywhere else: a person named directly stops working the desk the day they change role, silently.
A receptionist with no building named anywhere sees You have not been assigned to any reception setting instead of a desk — the first thing to check when someone cannot open Reception. See Sign in to your reception desk.
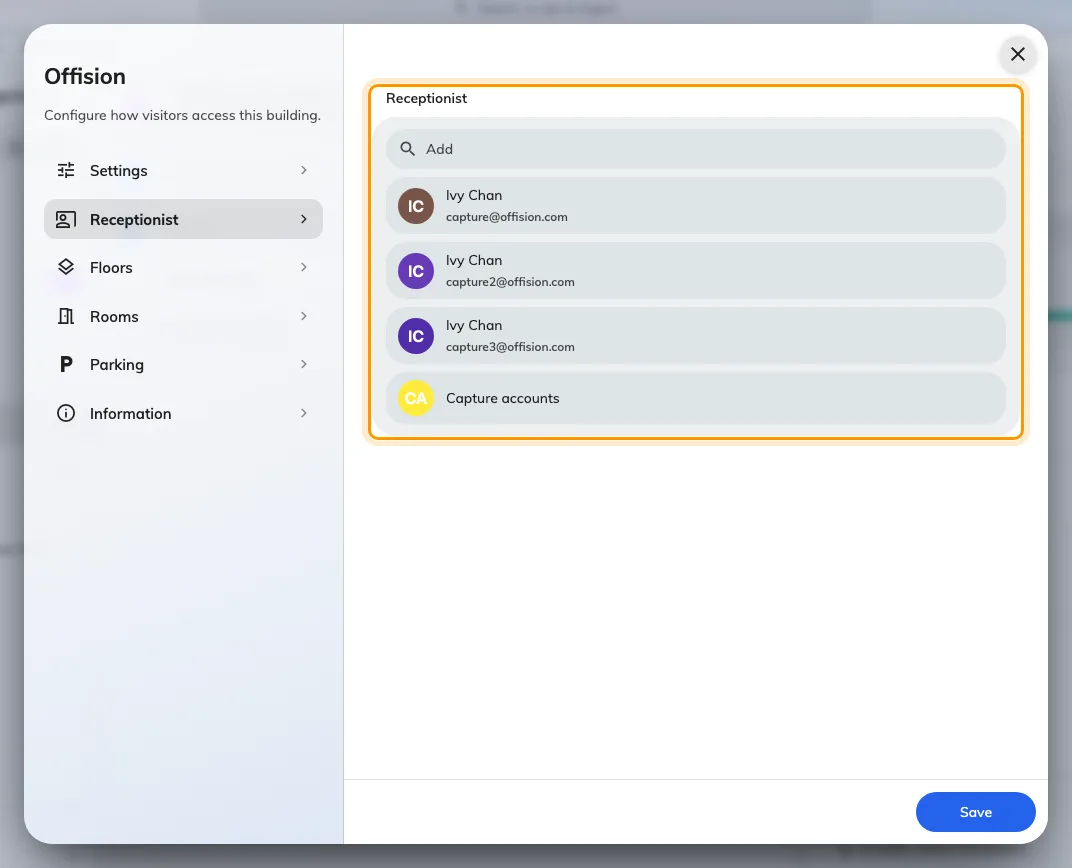
Receptionist: the people and groups who staff this building's desk.
4. Open floors, rooms and parking
The next three pages — Floors, Rooms, Parking — are tick lists of what the building already has. Whatever you tick becomes offerable when somebody invites a visitor: the building alone, a floor on it, or one room. A room chosen as a visiting location says where the visit is — it does not reserve the room. It is also what lets a lobby screen name and draw the destination when that visitor checks in: a room nobody ticked here never travels with the visit, and the guest gets a plain confirmation instead. See Show a visitor the way to the room they are visiting.
Opening nothing here is fine. The building itself is then the only answer the invite form offers, which suits a site where precision inside the building does not matter.
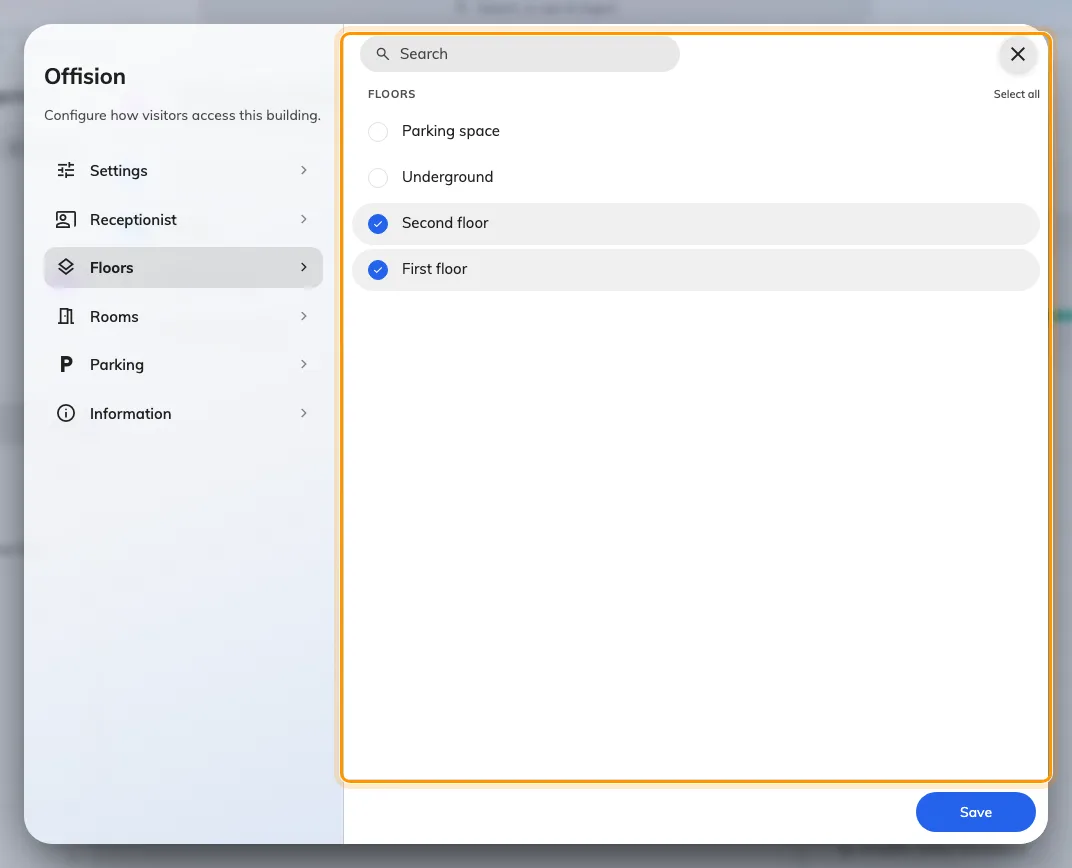
Floors: tick what visitors may be invited to. Rooms and Parking work the same way.
Press Save — one save covers every page of the dialog.
5. Know where the visitor count sits
Back on the building’s panel, License usage this month counts this location’s visitors: each visitor badge created is one against the building’s monthly limit, and the card says when the count renews. Increase limitation is where a visitor licence is assigned to this building when the limit is reached — visitors are licensed per location, not per company.
6. Check it worked
Invite a guest yourself. The building should now appear under Visiting location on the invite form, with the floors and rooms you opened one tap deeper. Then have one of the named receptionists open Reception in the app — the desk exists, and the guest you just invited is on its list for the day of the visit.
If the building is missing from the invite form, it is not enabled — step 1, not step 4, is the switch.