

Set up a service panel for your service team
A back-of-house screen that shows the day's service requests as one shared queue — build the content, aim it at the right rooms, and connect the touch screen your staff will work from.
A service panel is the screen in the pantry or the facilities room: the day’s service requests, full screen, grouped by the floor they are due on, with a timer on each that turns amber and then red as it waits. On a touch screen, staff tap a request to take it, finish it, or turn it down. It is the one signage purpose built for the people delivering the work rather than the people passing by.
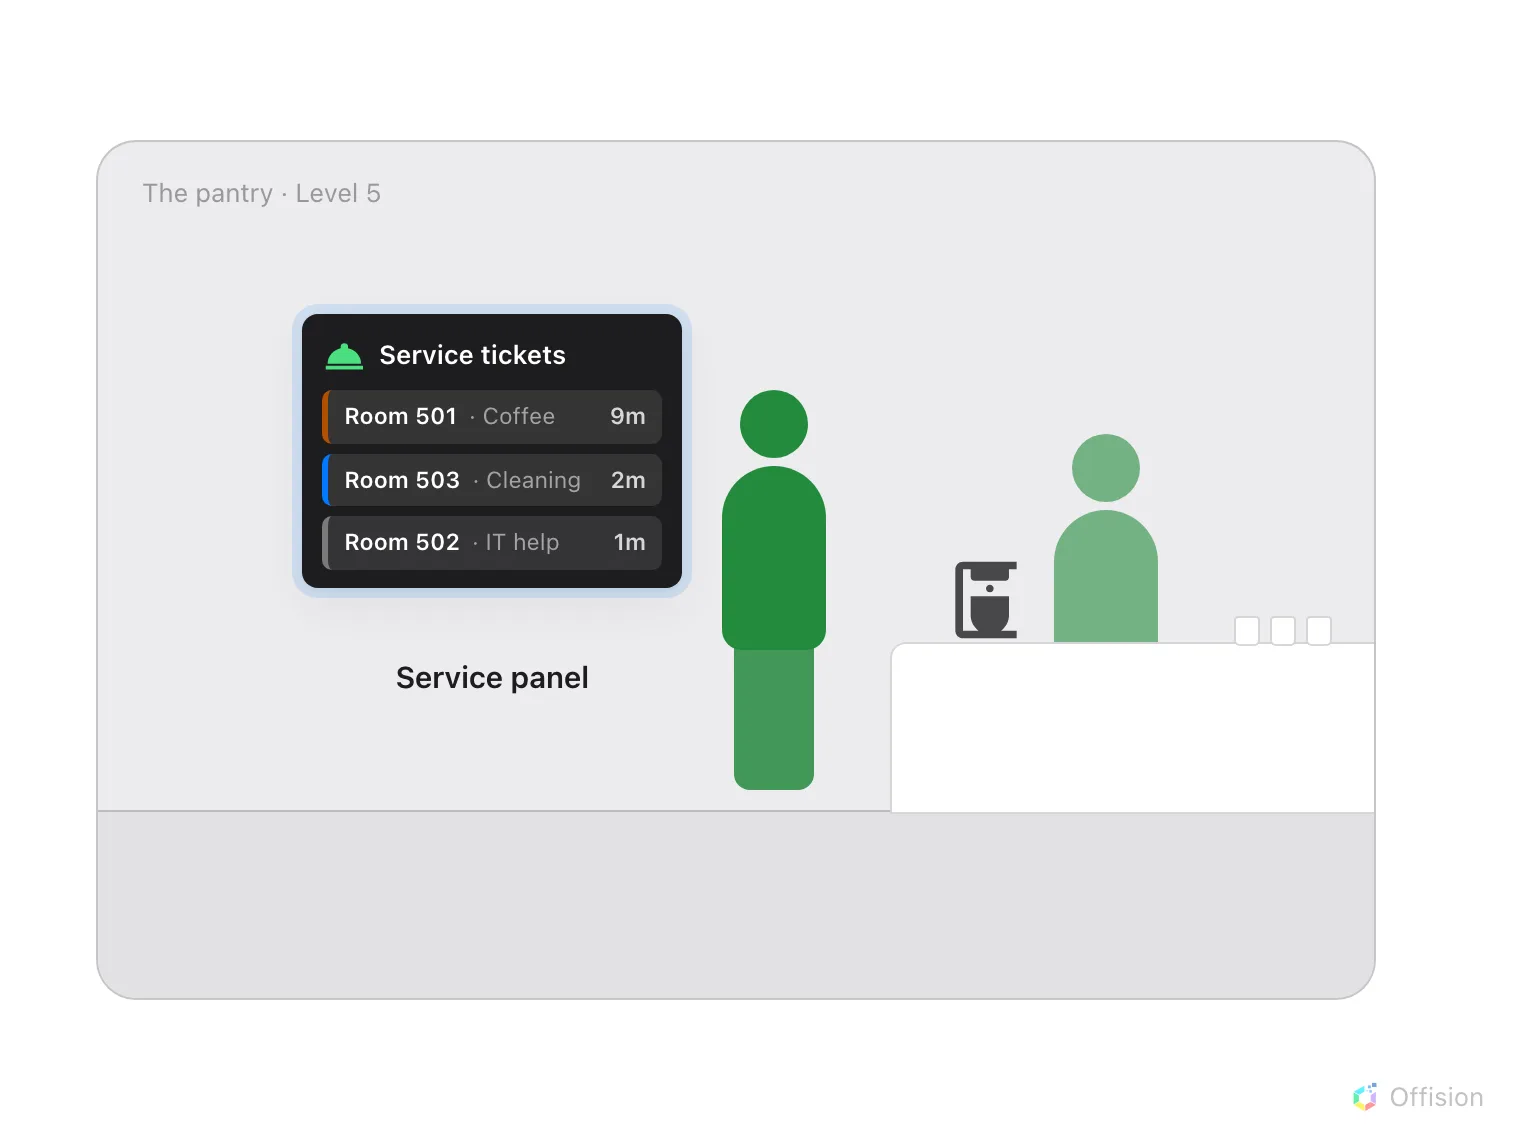
The panel hangs on the pantry wall: the rooms' requests queue up in front of the staff who deliver them.
The panel shows a queue it does not create. Requests come from the in-use services you have put on your rooms — the coffee, cleaning and help people call for from the room panel, the app or a QR code on the table. The screen itself is ordinary signage: a design created in Signage › Content, connected to hardware exactly like any other screen.
1. Create the content
Go to Signage › Content, choose Add, and pick Service panel.
Open Signage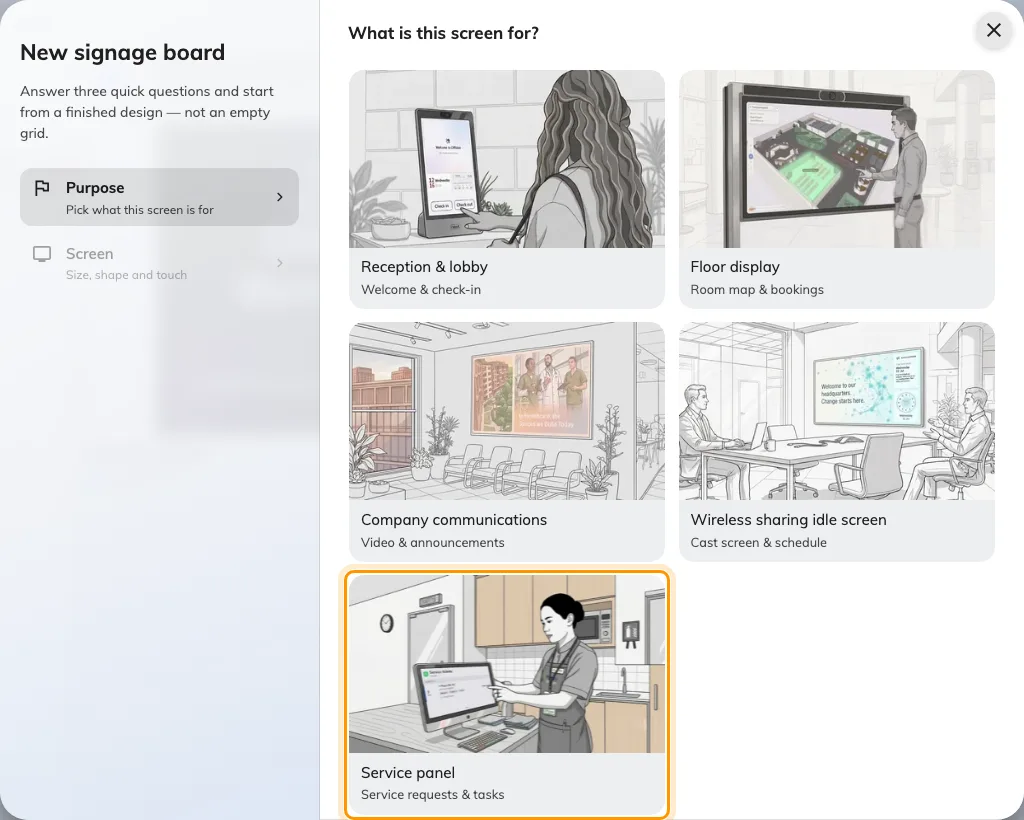
The purpose step, with Service panel — service requests and tasks.
That purpose seeds a design that is nothing but the queue: the Service request list filling the whole stage, no side widgets, no buttons. That is deliberate — a screen read at a glance from across a kitchen has no room for anything else.
Pick the device you are hanging it on, and be honest about Touch screen. On a touch screen, tapping a request opens its details and the buttons that move it along; on one nobody can touch, the panel is read-only and the queue is worked from the app instead. Then choose Create.
2. Aim it at the right rooms
The editor opens with a live preview on the left. Click the queue in the preview to open its settings.
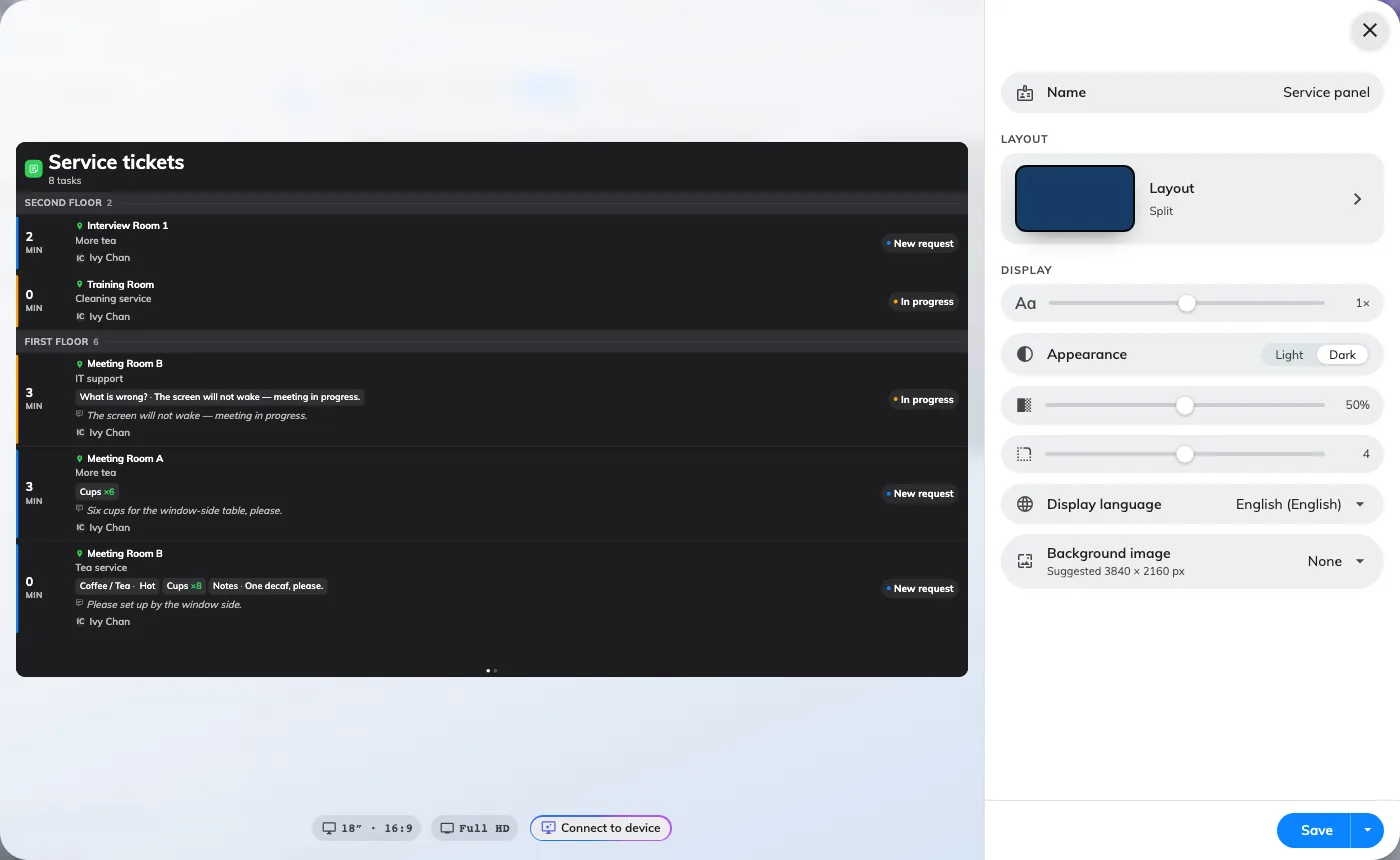
The editor: the queue as the screen will show it, and its settings on the right.
Two settings decide almost everything, and both have sensible answers out of the box:
- Resources — which rooms’ requests this screen carries. It starts on All resources — right for a central kitchen serving everything. For a pantry screen that should only carry its own floor, switch it to Follow device location, and the screen serves wherever it is installed.
- Warn after and Overdue after — the minutes at which a waiting request’s timer turns amber, then red. Match the first to how long preparation normally takes; the second is the moment a request becomes an escalation.
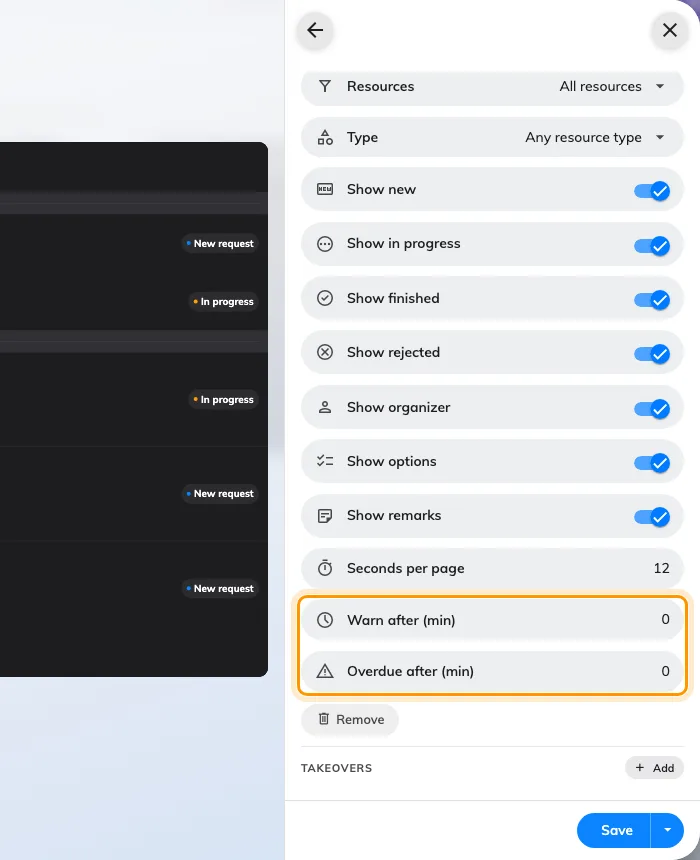
The queue's settings, with the thresholds that drive the timer.
Every setting on this screen — the status toggles, organizer, options and remarks rows, seconds per page — is in The Service request list widget. Set what you need, then Save.
3. Connect the screen
The content still shows nowhere. Go to Devices › Signage › Devices › Add, choose this design as the Content, choose the Brand of hardware, type the six-character code the screen is showing, and go on to Location. The full walkthrough, including what each brand needs, is in Connect a signage screen.
Open Signage devices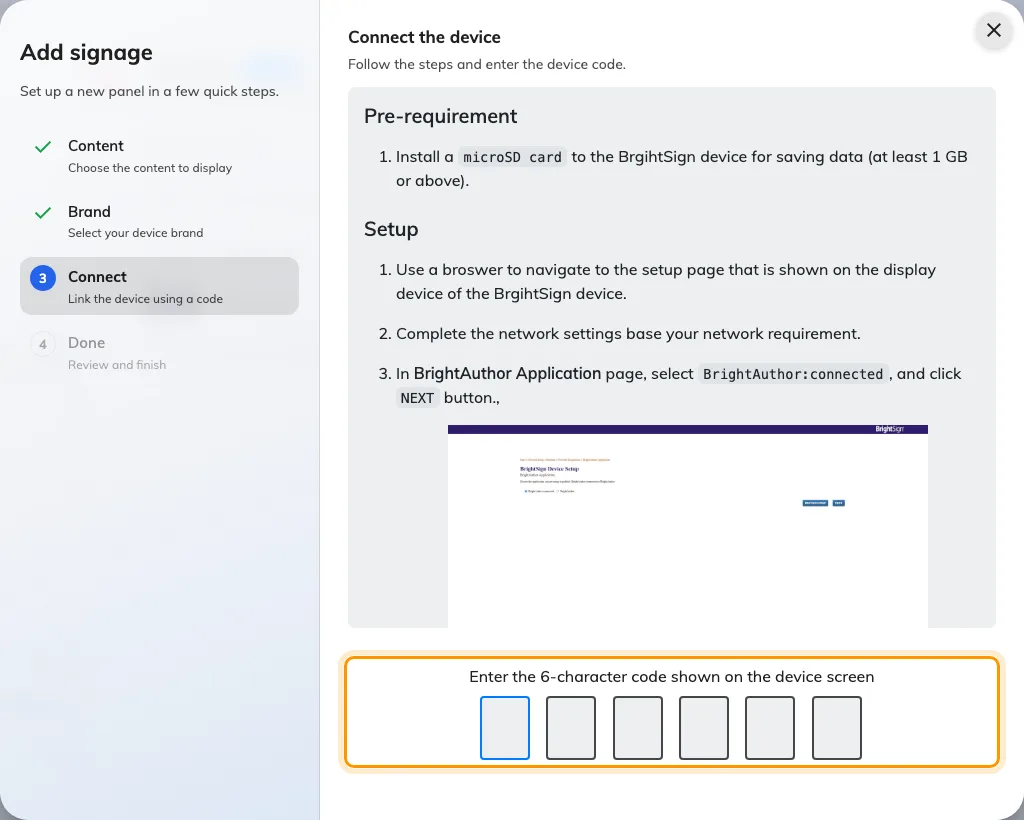
The connect step: the six characters from the screen claim it.
The moment the code lands, the screen stops showing it and starts showing the queue.
4. Set the device’s location
Location is a step of the wizard, straight after Connect, and Next stays disabled until you have picked something on the floor plan. If you switched Resources to Follow device location, this step is the scope: a panel placed on the third floor shows the third floor’s requests, and a device with no location falls back to everything, everywhere. Even on All resources, the location is what puts the screen on the floor plan and its device row in the right building.
Drop a point on the floor plan for a screen in a pantry or corridor; tap a room for a screen inside one. Set later skips the step after one confirmation, and the same picker is on the device’s own record afterwards.
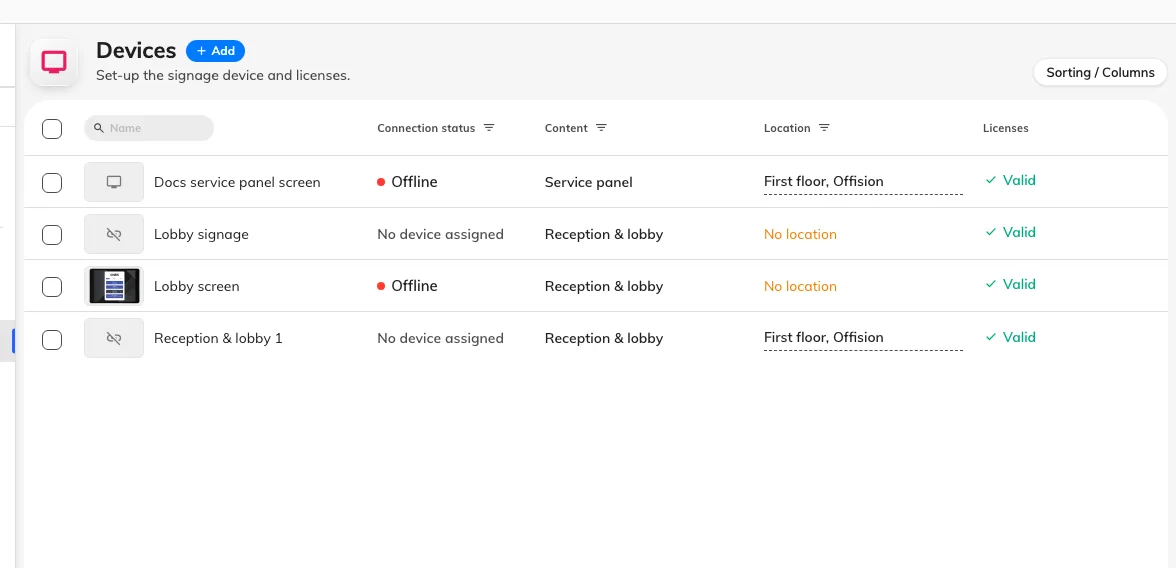
The device list: the panel, its content, and the location that scopes its queue.
5. Check it worked
Raise a real request: walk to a room the panel covers and ask for a service from its panel or the app, the way a colleague would. Within moments the request should appear on the screen as a New ticket, on the right floor group, with the timer running. Devices › Screen monitoring shows the same thing without the walk.
Then hand it to the team: Handle requests at the service panel is the staff’s side of this screen.
What this does not control
- What can be requested, and by whom. The catalogue of services, their options and their hours are Service’s job — start with How a service request works.
- Who fulfils requests, and how they are notified. That is Assign the people who fulfil requests; the panel notifies nobody by itself.
- Reported faults. A broken chair or a dead screen is a support ticket, not a service request — that queue has its own widget, Support ticket list.