

Connect a signage screen to Offision
The screen shows six characters and the console claims it. The four things the Add wizard asks, why the brand tile only chooses a guideline, and the location step every location-aware widget quietly reads.
The content is a design and shows nowhere until a screen is paired with it. Nothing you do in the editor touches hardware; this is the step that does.
Pair the screen
Look at the screen itself: the player app is showing a six-character registration code. Then, in the console, either press + on the content’s own card in Signage › Content, or go to Devices › Signage › Devices and choose Add.
Open Signage devicesThe wizard asks four things and then confirms:
- Content — what this screen will play.
- Brand — the hardware you are installing. Certified devices is what Offision tests against: BrightSign, Crestron, Crestron AirMedia, Qbic, LG webOS, Microsoft Teams Rooms, Zoom Rooms and Neat. Other devices underneath is everything else that runs the player anyway — an iPad, an Android tablet or media box, a Windows machine, or Web, for a third-party signage system loading the player in a web view. Each tile carries Support models, for checking the exact model on your desk, and its own installation guideline — read it, because the steps that get a BrightSign box into the player app are not the steps that get a Qbic panel there.
- Connect — the six characters from the screen, typed into the six-box field. It submits itself on the last one.
- Location — where on the floor plan the screen stands. The next section is about this one.
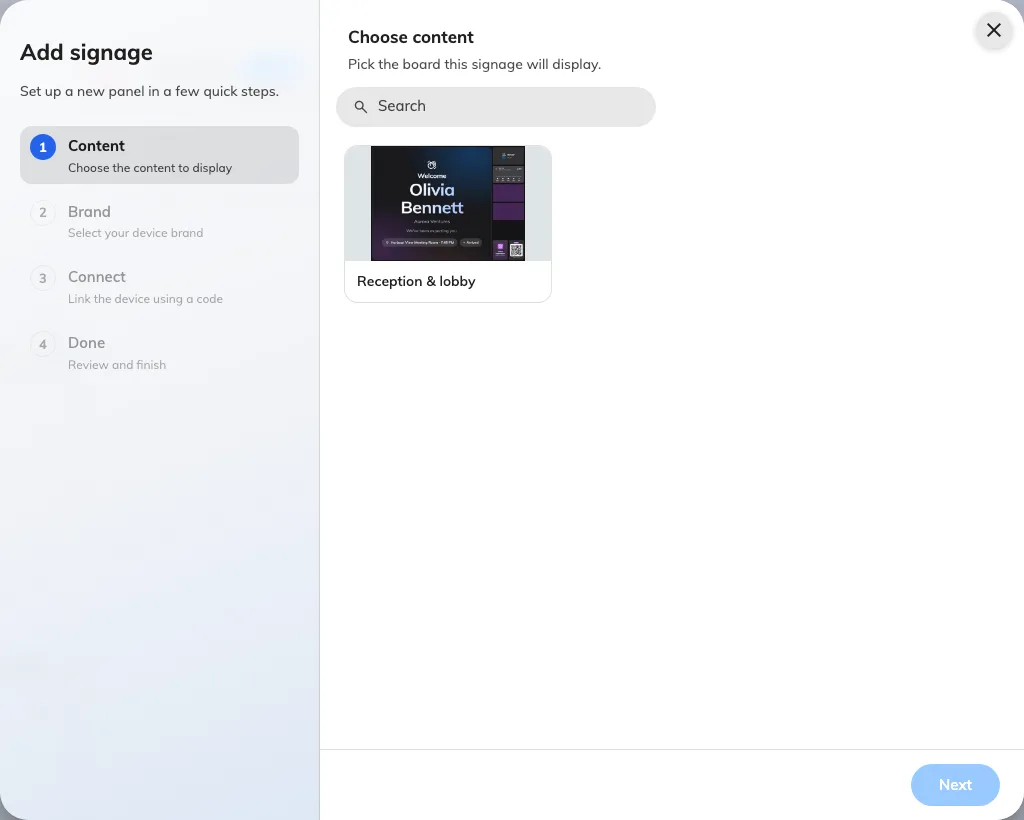
The first step: the content this screen will play.
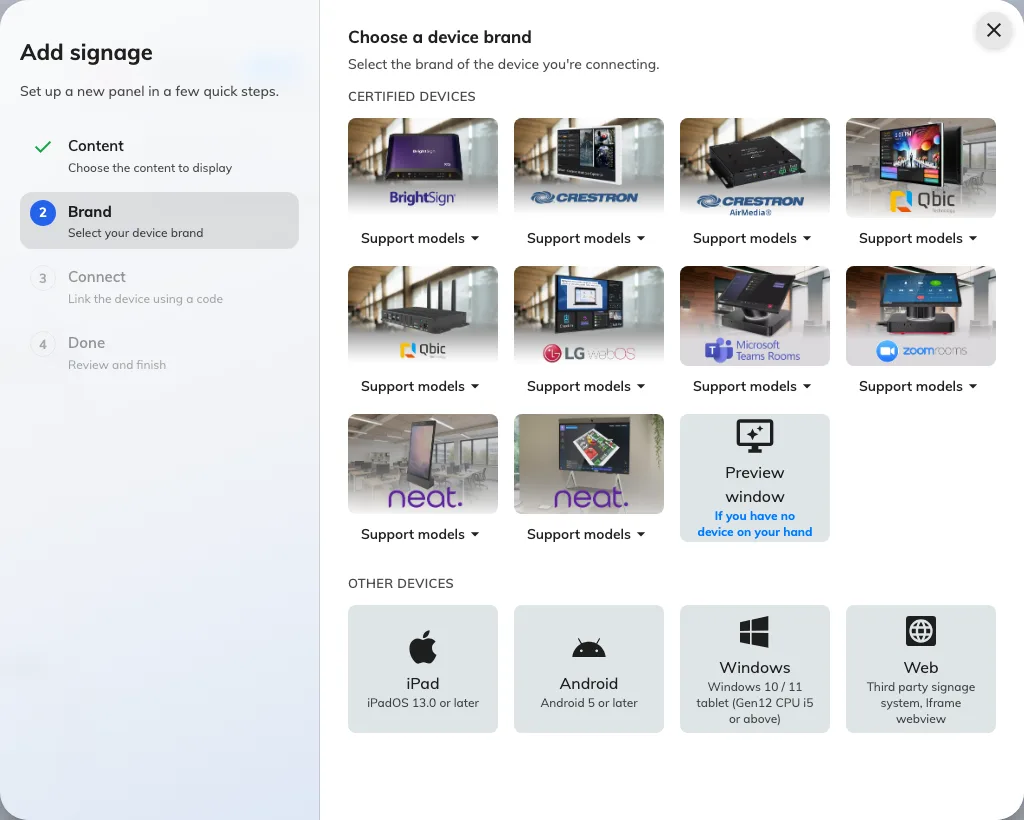
The hardware, and the guideline that comes with it.
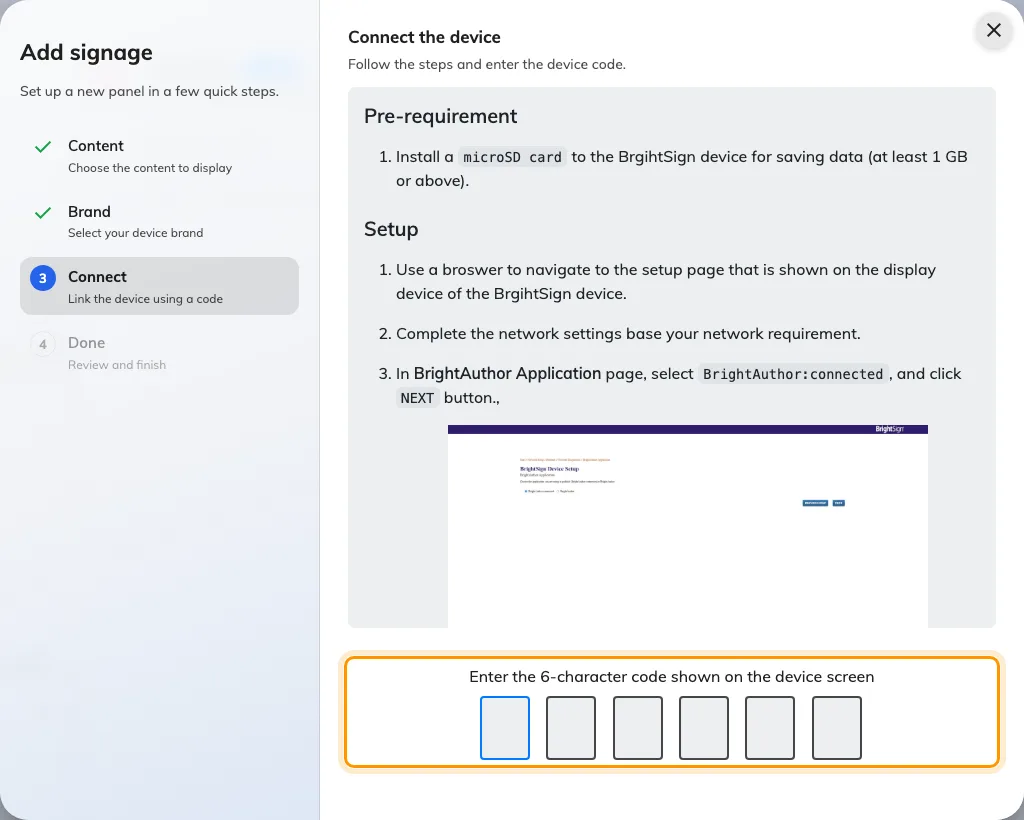
The brand's guideline, and the field that claims the screen.
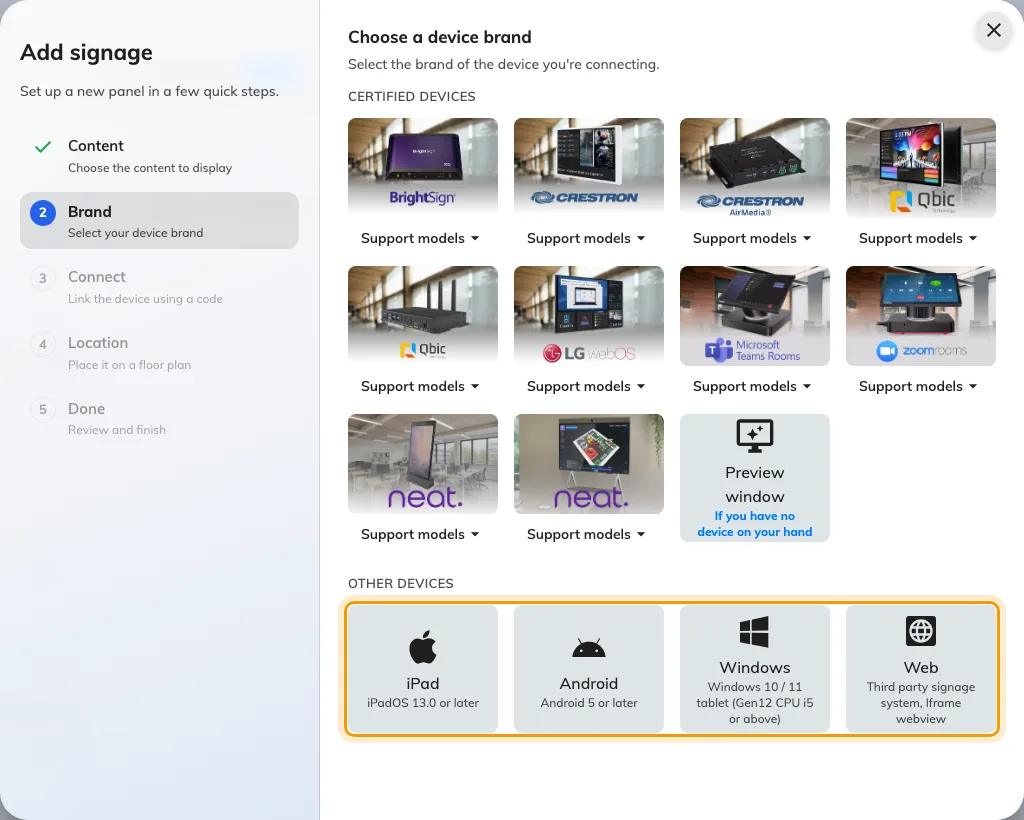
Other devices, under the certified tiles: iPad, Android, Windows and Web.
Nothing is created until that code lands, so backing out of the first two steps costs nothing — and once it has landed, Brand and Connect lock, so stepping back cannot produce a second device. Within a few seconds the screen stops showing the code and starts showing the content. A screen plays exactly one design; the same design can play on any number of screens.
If the code is refused, read it off the screen again rather than retyping what you noted down — the code lives on an open connection, so a screen that has slept, rebooted or lost the network since is now showing a different one.
Give the screen a location
Location is a step of the wizard, not an afterthought, and it is worth taking while you are still standing next to the hardware.
The content carries no place of its own, so every location-aware widget on it — whose visitors to greet, which building’s rooms to map, which floor to start a route from — reads the device’s location instead. A screen with none falls back to everything, everywhere. Nothing errors; it just quietly answers the wrong question.
The step asks Where is this signage? over the floor plan itself: a floor picker above it, the rooms and any screens already placed drawn on it, and a chip underneath naming what you have picked. Next stays disabled until something is picked, and changing floor clears the pick.
There are two ways to answer it. Tapping a room on the floor plan binds the screen to that room, which is right for a screen inside or beside one, and it is what a widget set to Follow device location later resolves against. Dropping a point on the floor gives it a floor and a position but no room, which is right for a lobby or a corridor.
Set later skips the step, and asks once before it does — “Skip location? It won’t know where it is, so floor plan and bookings may not show.” A tenant with no floor plan drawn at all is not asked: the step says No floor plan yet and offers Continue, because there is nothing yet to place the screen on. Either way the location can be set afterwards from the device’s own record, and a screen that has one is the one that needs no second visit.
For the installed player, Android app and hardware firmware versions, see Device software information.