

Build signage content and put it on a screen
Signage content is a design, not a screen — it belongs to no room and no building. How to create it, put something on it, save it, and pair the hardware that plays it.
Signage content belongs to no room and no building. It is a design — a welcome screen, an availability map, a video that loops — and the same one can run on every screen in the company. The hardware is a separate record, and it is the hardware that knows where it is standing.
That is the whole reason creating content never asks which room it is for. It asks about the screen: how big, what shape, and whether anyone can touch it.
1. Create the content
Go to Signage › Content and choose Add.
Open Signage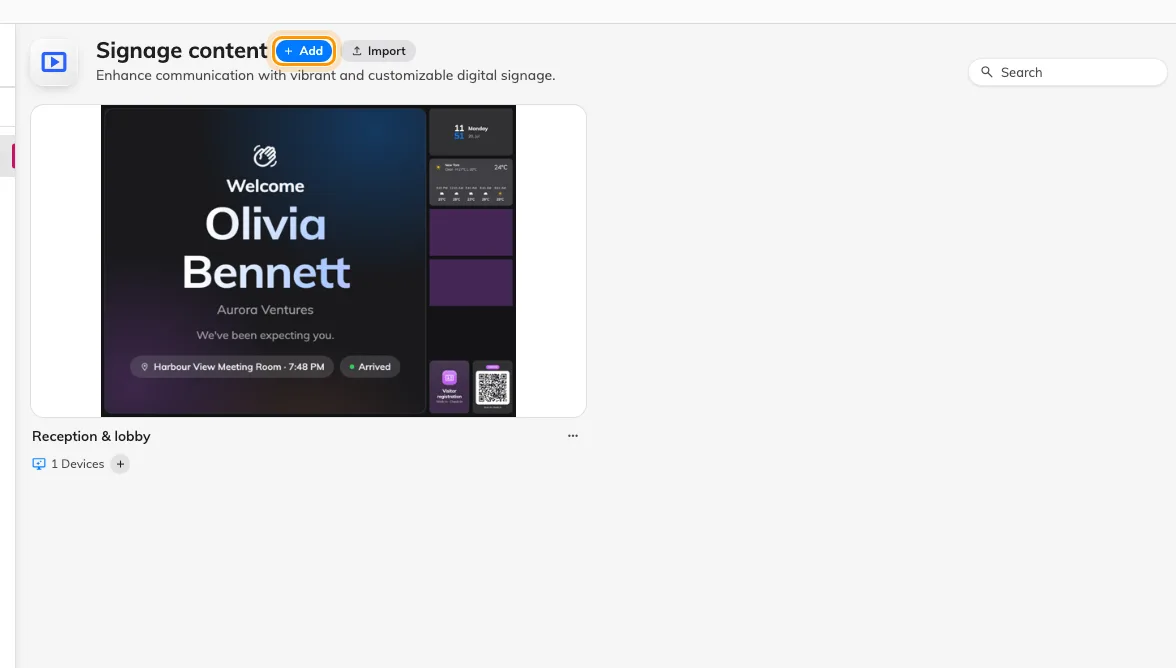
The content list, and the button that starts a new design.
The wizard asks two questions. The first is what the screen is for:
| Purpose | Starts you with |
|---|---|
| Reception & lobby | A welcome screen, self-service buttons and a walk-in QR code |
| Floor display | A room map and today’s bookings |
| Company communications | Video and announcements |
| Wireless sharing idle screen | The cast screen with a schedule beside it |
| Service panel | Service requests and tasks |
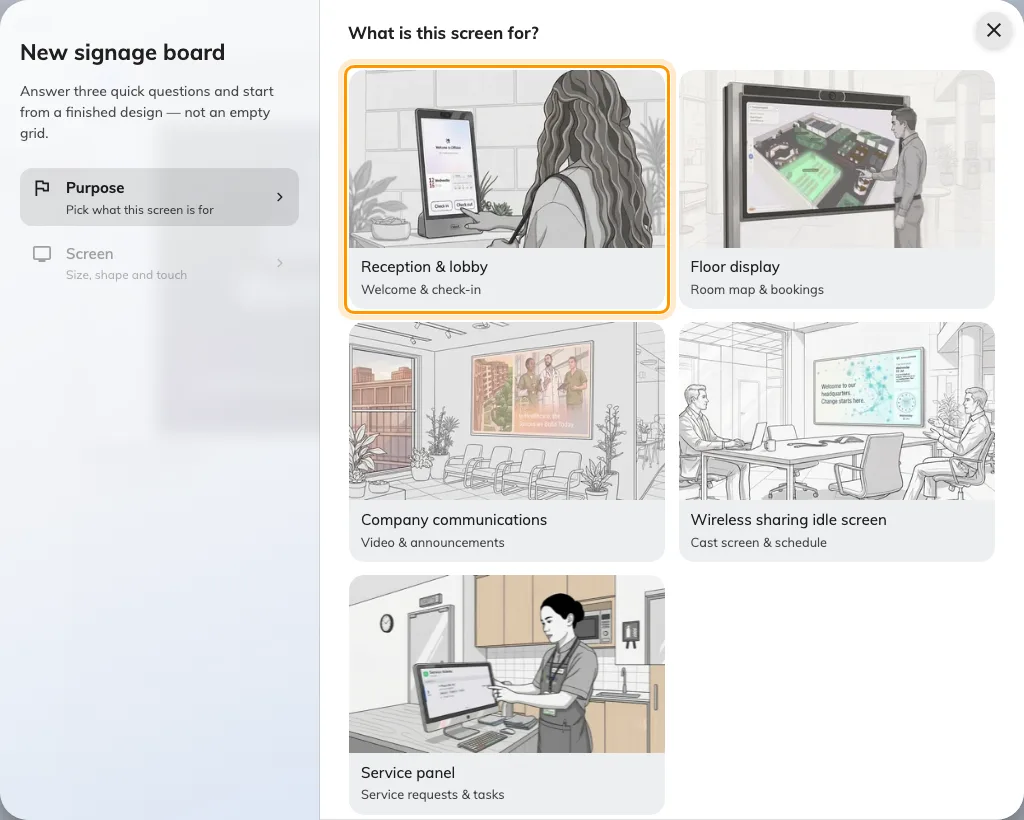
The five purposes a new screen starts from, Reception & lobby first.
Picking one moves you straight on — there is no Continue button. The purpose also becomes the content’s name, which you can change in a moment.
2. Describe the screen
The second question is the hardware, and it starts with the device itself. Device offers Android tablet, iPad, Neat Frame, Neat Board and Smart TV, drawn to relative scale on one baseline so a tablet looks like a tablet standing next to a wall display. Pick one and it answers the size, the shape, the way round the screen hangs and whether it is a touch screen, all in a single move.
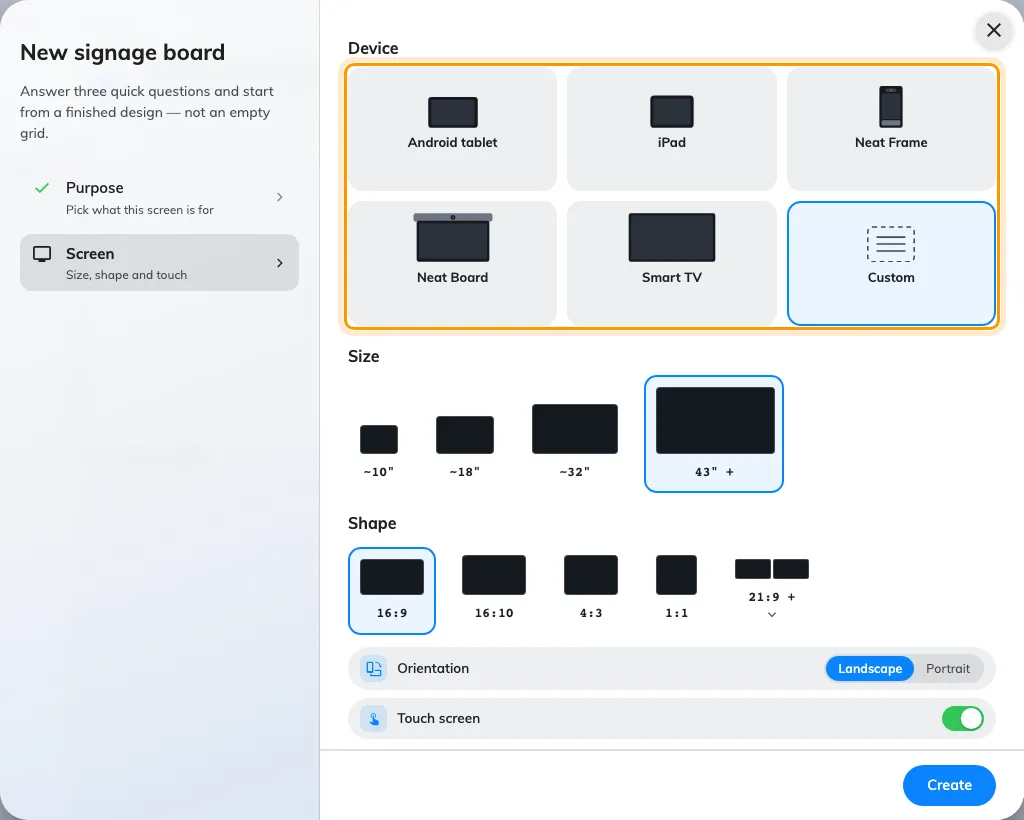
The devices, drawn to scale. Picking one answers size, shape and orientation together.
Where a device ships in more than one size, its tile carries a small menu once it
is selected — an iPad is 8.3", 11" or 13", a Neat Board 32", 50" or
Pro 65". That choice is not cosmetic: size is what decides how large the text
has to be, which is why a 32-inch Neat Board is typeset one step smaller than the
50-inch one.
Some devices only mount one way round. A Neat Frame stands portrait, a Neat Board hangs landscape, and neither can be rotated — so rather than offer a toggle that cannot move, the panel states the orientation and shows a lock beside it. Everything else keeps the landscape and portrait choice.
Custom is the last tile, for a screen that is not on the list, and it is the
only one that opens Size and Shape. A tile there is labelled by its inches
or its ratio — 16:9, 16:10, 4:3, 1:1 — rather than by a name, and More
shapes underneath adds the ultra-wide and video-wall shapes, including two or
three panels stacked into one canvas.
Touch screen is the answer people get wrong. The device sets it for you — a Smart TV arrives with it off — but it stays yours to change, and it matters. On a screen nobody can touch, the interactive widgets are hidden rather than shown-but-dead, and the visitor self-service buttons are quietly swapped for a QR code; there is no point offering a button nobody can press. Answer it honestly, or you will spend a while wondering where your buttons went.
None of these answers is final, and the content now remembers which device you picked. Open the design later and the caption under the preview names it; click that caption and this same panel opens again, on the device rather than on a guess made from the canvas. The design re-fits itself, so one drawn for a 10-inch tablet can be widened to a Neat Board without starting again.
Choose Create. The content opens in the editor.
3. Learn the two surfaces
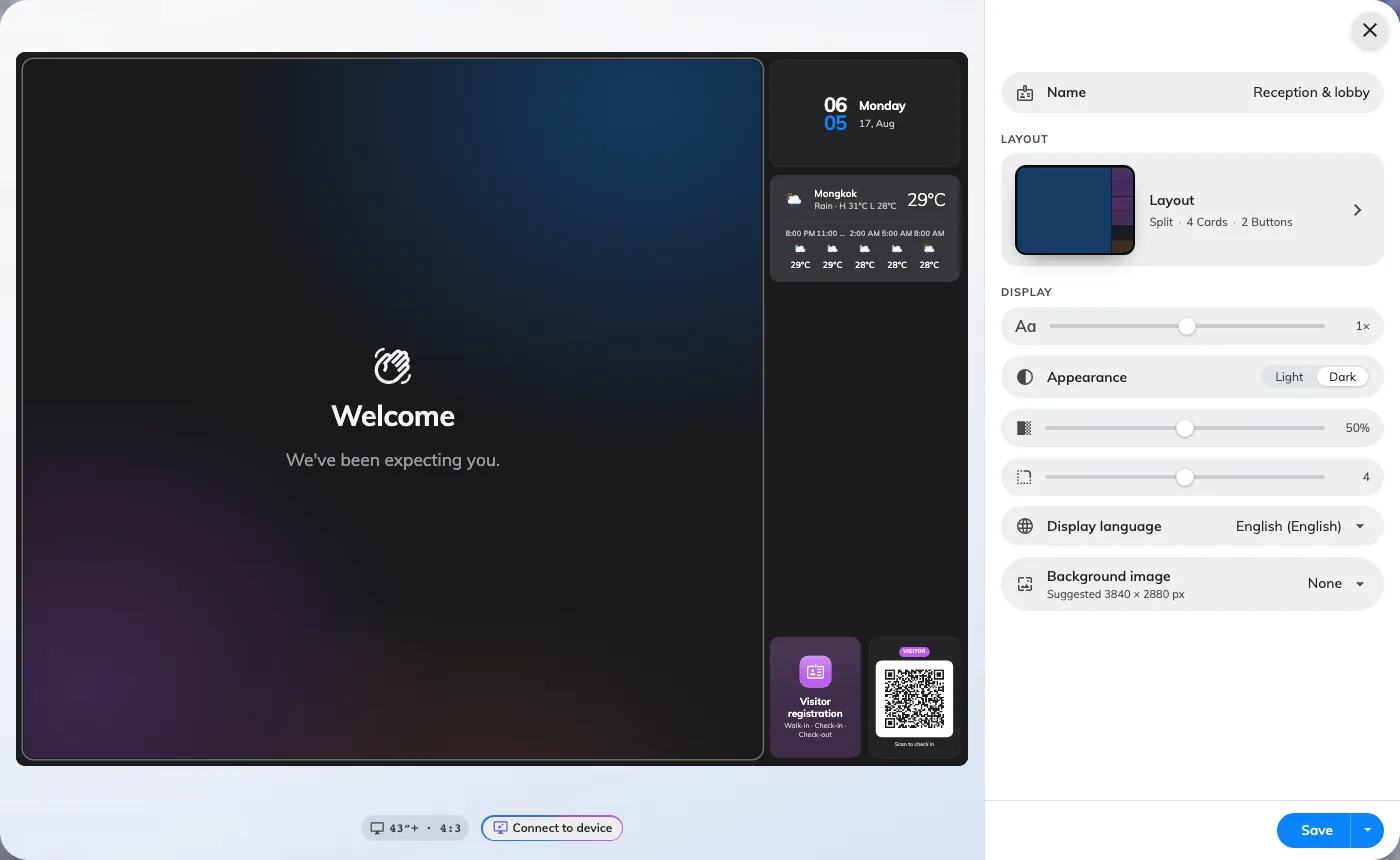
The screen as it will look, on the left; the settings for whatever you last clicked, on the right.
The editor is a live preview on the left and a sliding rail on the right, and there are exactly two ways to change anything:
- Click a part of the preview to change what is in it. The big area, each card, each button — clicking one opens its settings in the rail. This is the whole of Widgets and the places they go.
- Open the Layout page in the rail to change what parts there are — how many cards, whether there is a column beside the stage, which edge it sits on. See Change a layout.
The rail’s first page is the content’s own settings — font size, appearance, language, the background and the rest, each applying to the whole design rather than to any one widget. They are listed in Widgets and the places they go. The one to do now is Name: give it one that says where it will be shown, since the purpose name it arrived with will not stay distinctive for long.
4. Put something on it
Click the largest area of the preview — the main stage — and pick a widget. Booking lists, room maps, video, a website, a welcome screen: what is offered depends on where you clicked, because a tall list and a small square tile cannot hold the same things.
That is as far as this article goes. Which widget can sit where is Widgets and the places they go; playing several in turn is Scenes; interrupting everything when a visitor arrives is Takeovers.
5. Save it
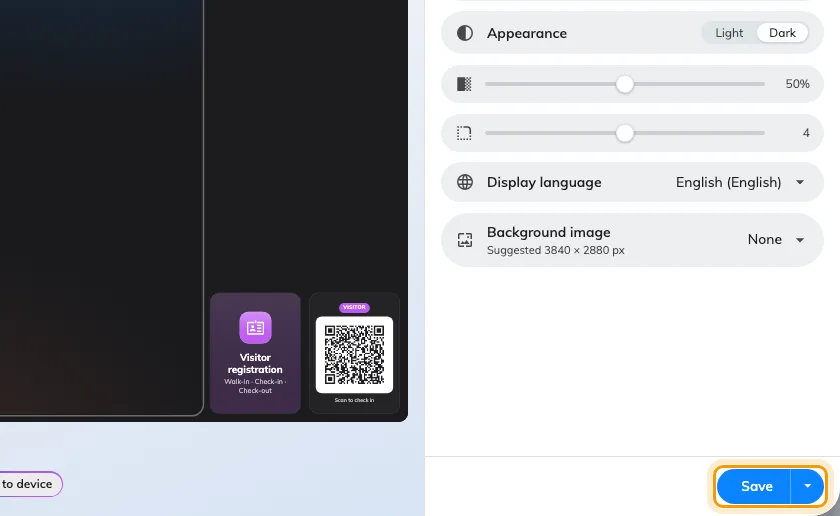
The save control, on every page of the rail.
The button at the foot of the rail is in two halves. The pill saves and leaves you where you are — it flashes Saved and goes back to blue. The small caret beside it offers Save and close.
Nothing is written until you press it. The ✕ in the corner asks before throwing unsaved work away, and clicking outside the editor or pressing Escape will not close it.
6. Connect the screen and give it a location
The content still shows nowhere. Nothing you have done so far has touched hardware.
The screen itself is showing a six-character registration code. Add it under Devices › Signage › Devices, or press + on the content’s own card, and the wizard asks for the content, the brand of hardware, and those six characters, and then for its Location on the floor plan — which every location-aware widget on the screen reads. The whole walkthrough, brand by brand, is in Connect a signage screen.
8. Check it worked
Devices › Screen monitoring shows a live picture of what each screen is actually displaying. It is the fastest way to confirm the content landed without walking back to it — see see what every screen is showing.
Then change something small in the editor, save, and watch the screen catch up. That is the only check that proves the pairing, the content and the network are all working at once.
What this does not cover
- Which widget goes where — Widgets and the places they go — and playing several things in turn — Scenes.
- Changing the shape of the design itself — Change a layout.
- A reception screen specifically, where the walk-in QR code and the device’s location need more care than a general screen does — see Set up a lobby screen for visitors.
- The screen’s own settings — its name, its location and its connection are edited on the device, not on the content, in Devices › Signage › Devices.