

Let people create their own account
Put a Create account link on your sign-in page, hold it to your own email domains, and let a new starter sign themselves up. About two minutes to set up.
Most people get an Offision account because somebody made one for them — an invitation, or a spreadsheet import. Self-registration is the third way: a Create account link on your own sign-in page, so a new starter signs themselves up with their work email and is in as soon as they confirm it.
1. Turn on self-registration
Open Global password policy — Directory, then Security in the rail — and scroll to User self-registration, the last section on the page. Turn on Allow users to register themselves.
Two more fields appear underneath. Approval mode offers Auto-activate after email verification: the person confirms their address and is in, with nothing waiting for you to approve.
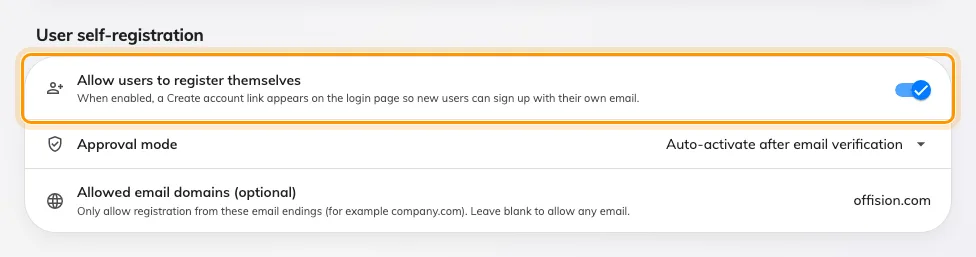
Allow users to register themselves. The two fields below it appear only once it is on.
2. Limit it to your own email domains
Allowed email domains (optional) takes a comma-separated list — for example
acme.com, partners.com. Only addresses ending in one of them may register;
anything else is refused at the form. Leave it blank and any address on earth
may create an account on your tenant.
Fill it in at the same time as the switch, not afterwards. A sign-in page is public, and an open form on a public page gets found.
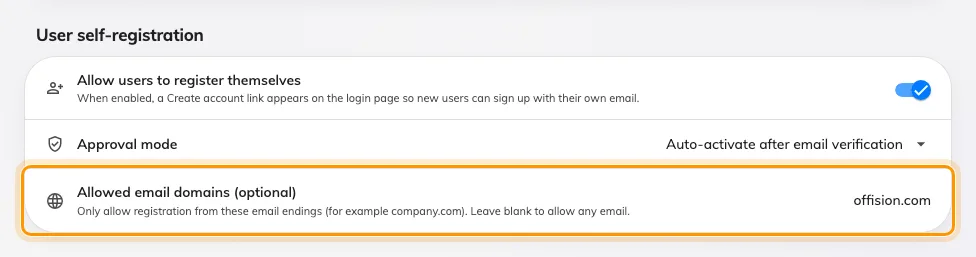
Allowed email domains. Blank means any email address may register.
Save, then open your sign-in page and look.
3. Check the sign-in page
At the bottom of the sign-in card, under the sign-in options: Don’t have an account? Create one. It sits on the email step of the card only — once an address has been entered and the card has moved on to the password, it is gone.
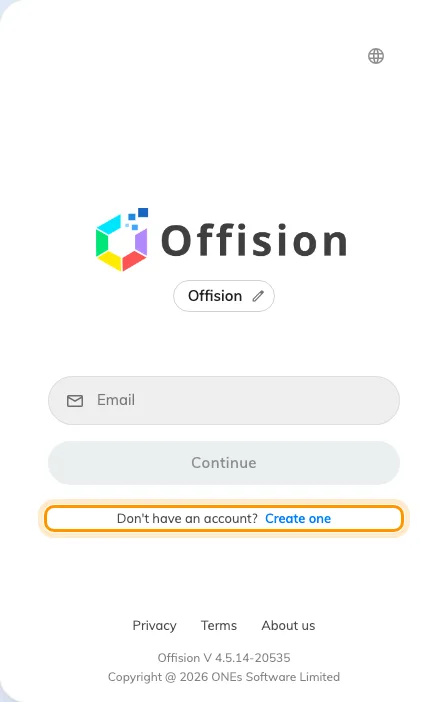
Create one, at the bottom of the card on its email step.
4. What the person goes through
Create one opens Create your account — email, password, confirm password. The password rules from the top of the same settings screen are listed live underneath, and the button stays disabled until the password passes all of them.
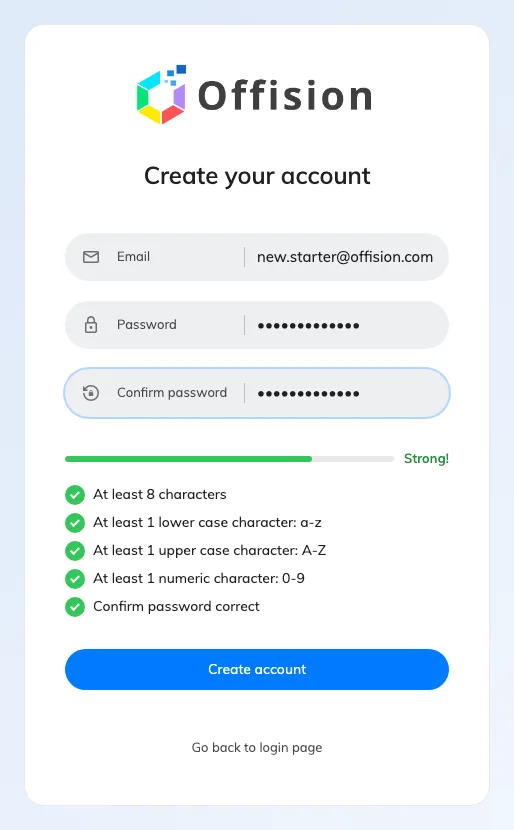
Create your account. The rules below the fields are your own password policy, checked as they type.
Submitting shows Check your inbox to verify your email and finish registration. Nothing can sign in yet.
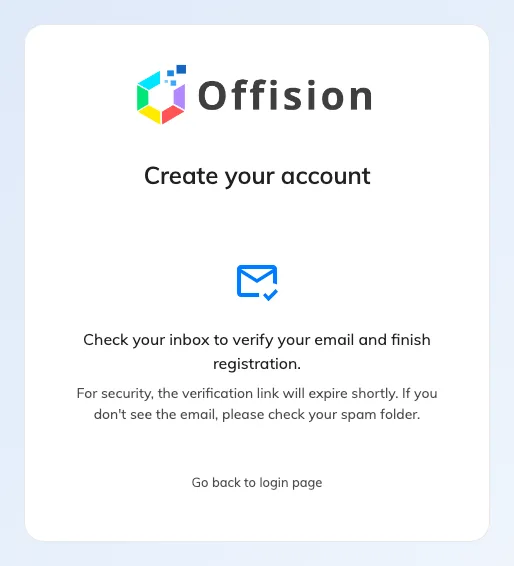
After submitting. The account exists but cannot sign in until the address is confirmed.
The mail carries a Verify Email button, and the link is good for 24 hours.
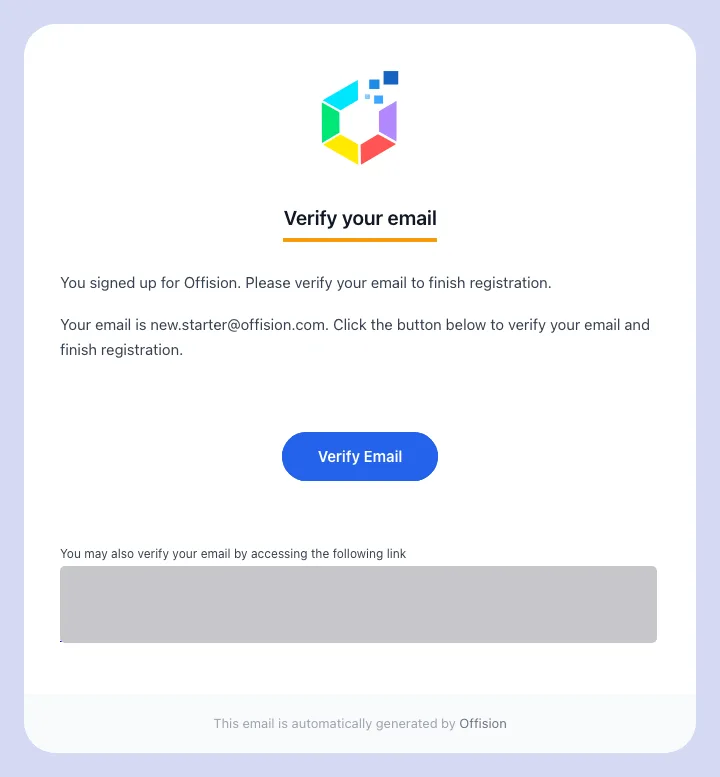
The verification mail, sent to the address they registered with.
Following it confirms the address and, on Auto-activate, finishes the job: Email verified. You can now sign in. They sign in from there like anybody else.
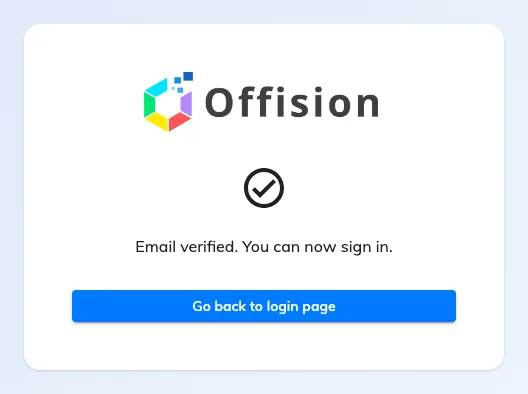
Email verified. You can now sign in. — the end of the registration path.
What a self-registered account can do
The account lands on the root branch (see what a branch is), on the tenant’s default user security profile, with the standard booking-user permission: enough to book a room and manage their own things, and nothing administrative. Everything after that is ordinary account work — move them, change their groups, change their permissions — on their record in People.
Open Global password policy