

Classic map
Draw the rooms and furniture
Design mode — tracing the walls with rectangles and ellipses, dropping in desks and chairs from the furniture catalogue, and the four layers that decide what you can select. About half an hour for a real floor.
Everything here happens in Design, the first of the four modes. You are drawing a flat plan seen from above; heights come afterwards, in Give objects height.
1. Learn the rail
Five tools down the left, and they are the whole drawing kit.
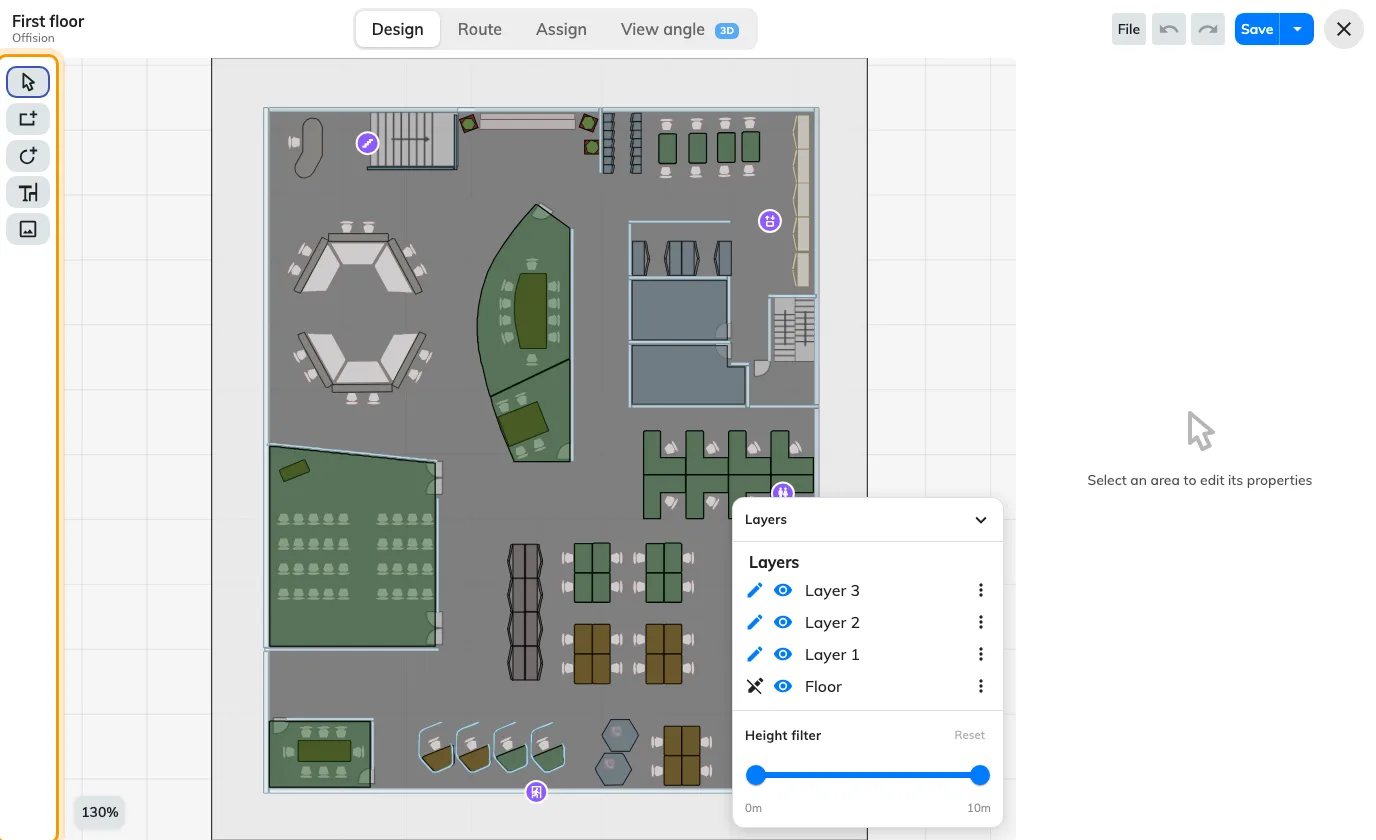
Select, rectangle, ellipse, furniture, and the floor image.
- Select — the default. Click a shape to pick it up; the panel on the right fills with its properties.
- Add rectangle — a room, a wall, a block of anything. Most of a floor is these.
- Add ellipse — round tables, planters, the occasional curved wall.
- Add workspace furniture — a catalogue of drawn objects rather than blank shapes, in four groups: Room setting, Desk / Chair, Cupboard / Locker / Server rack, and Shape.
- Update floor image — replaces the picture behind the drawing without touching anything you have drawn on it.
2. Trace the rooms
Draw a rectangle over each room on the image behind you. Do not try to be exact on the first pass: drop the shape roughly, then correct X, Y, W and D numerically in Position & size on the right. Typed numbers are faster than dragging and they are in real metres, so they can be taken straight off the plan.
For a room that is not a rectangle, draw the nearest one and then use Edit points. The canvas tells you the rules while you are in it: drag points or edges to reshape, right-click an edge to add a point, right-click a point to remove it, and Esc when you are done.
Give each shape a name in the box at the top of the panel. It is not compulsory, but an unnamed rectangle is indistinguishable from every other one in six months’ time, and the name is what you will look for in Assign mode.
3. Keep it straight
The zoom percentage in the bottom-left corner is a menu, and the bottom half of it holds three switches that do most of the work of making a hand-drawn plan look drafted:
- Show grid puts a metre grid behind the drawing.
- Snap to grid makes new and moved shapes land on it.
- Snap to objects aligns them to what is already there, which is what you want for a row of desks against a wall.
For anything the snapping cannot fix, select several shapes and use the alignment buttons in Arrange: align left, centre, right, top, middle, bottom, and — with three or more selected — distribute them evenly.
4. Use the layers to stop fighting the drawing
There are four, they are fixed, and they cannot be added to: Floor, then Layer 1, Layer 2 and Layer 3.
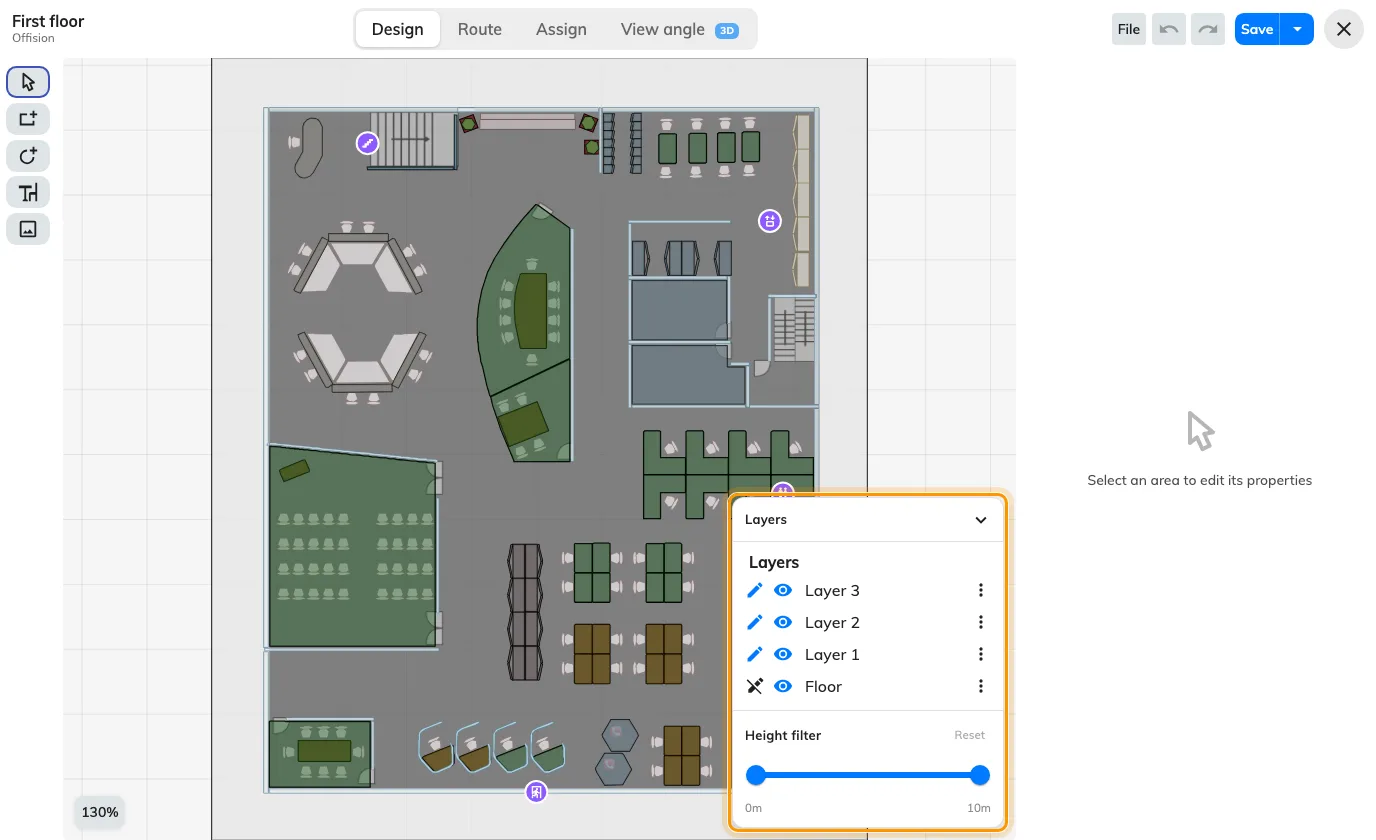
Which layer you are editing, and which ones you can see.
Each row has a pencil and an eye. The pencil says which layer you are editing — and only shapes on that layer can be selected, which is the single most common cause of “I can’t click my room”. The eye hides a layer while you work on another.
Floor is the floor slab itself and its image, and it is deliberately not editable: while it is the current layer, the shape tools are greyed out. That is not a fault; switch the pencil to Layer 1 and they come back.
A workable habit is rooms and walls on Layer 1, furniture on Layer 2, and Layer 3 for anything you are experimenting with.
5. Tidy up
- Lock a shape you have finished with, so a stray drag cannot move it. Unlock all from the right-click menu when you need them back.
- Group the shapes that make up one thing — a desk and its chair — so they move together.
- Duplicate a shape you are about to draw twenty of, then reposition the copy numerically.
- Right-click gives you all of these plus Copy, Paste, Select all, Show all hidden and Zoom to fit.
6. Save
Save writes the map and keeps the editor open; the arrow beside it offers Save & Close. Save often — you will be here a while, and although an interrupted session is offered back to you when you return, a saved one needs no recovering.
7. Check it worked
Switch to 3D preview. Every shape you drew stands up at its default height, which is the fastest way to spot the two mistakes that are invisible in plan: a room drawn at twice its real size, and two shapes you thought were adjacent overlapping each other.
What this does not control
- What the shapes mean. A rectangle named “Meeting Room A” is not the room called Meeting Room A until it is assigned to it in Assign.
- How tall anything is. Every shape gets a sensible default height; changing it is Give objects height.
- The colours people see on the app. The colour set here is the object’s own. Availability colouring — free, busy, occupied — is applied on top of it by whatever surface is drawing the map.