

Classic map
Assign rooms and desks to the map
Put every room, desk, piece of equipment and parking space on the floor you drew — by dragging from the list, or by tapping a resource and then tapping its area. About ten minutes for a floor.
1. Switch to Assign
Open the floor in the editor and choose Assign. The left rail becomes a list of resource types, and the panel on the right becomes your resources.
Open Map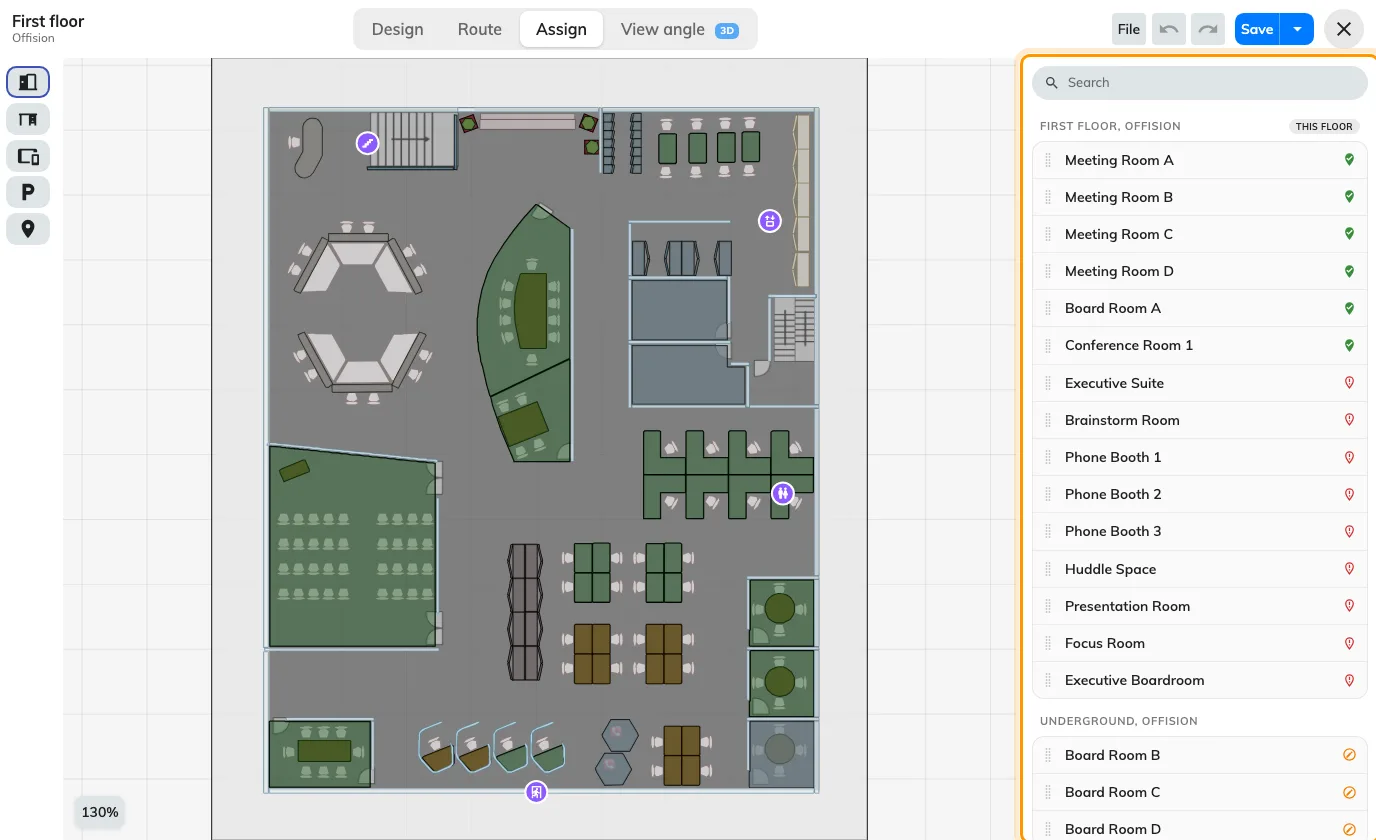
Your resources on the right, the floor you drew on the left.
2. Pick the type you are placing
The rail down the left switches the list between rooms, desks, equipment, parking spaces and facilities. It filters the list, not the map.
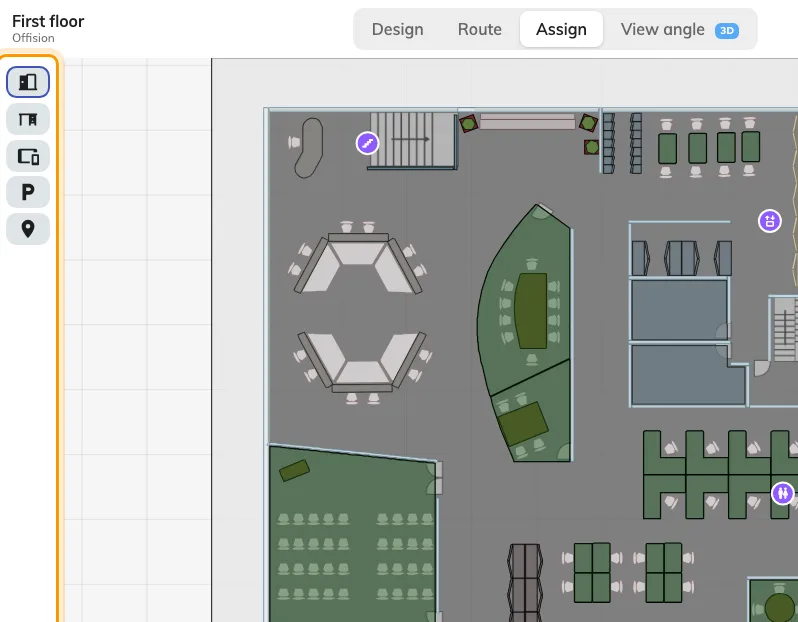
One button per resource type, plus facilities.
This is the step people skip. A floor that looks finished usually has its rooms assigned and its desks untouched, because the desks were never on screen.
3. Assign, either way
Two gestures do the same thing; use whichever suits what you are on.
Drag a row from the list onto its area — “You can assign the resource to map by dragging it”. Fastest with a mouse, and the obvious move when you can see both the name and the shape.
Tap, then tap. Tap a resource in the list to arm it — the row highlights — then tap its area on the plan. The canvas prompts with Tap an area to assign. This is the one to use on a touchscreen, and it is easier for a long list, because you are not dragging across a scrolling panel.
Work the list top down rather than hunting the plan. Every row is one assignment, and a row that has one shows Linked to a map location.
4. Check and correct as you go
Tap an assigned area and the panel shows Assigned resource with its name. Unassign breaks the link without touching either the shape or the room, and Back to list returns you to the resources.
An area with nothing on it says No resource assigned, and tells you the way back: go back to the list and tap a resource, then tap this area to assign it.
Assigning a resource that already sits somewhere else moves it. There is no warning, because moving a room to where it now actually is is the normal reason to do it.
5. Create anything missing, in place
If a room is not in the list, it does not exist yet. Add it from the panel and the ordinary resource form opens; save it and it appears ready to assign.
Facilities work the same way. See Put facilities on the map.
6. Save
Save in the header. Assignments are part of the map, so nothing is written until you do — the same rule as the drawing.
7. Check it worked
Leave the editor and look at the floor’s 3D preview: assigned areas now carry their resource’s name. Then open the map in the app and search for one of the rooms. It should be findable, and tapping it should offer to book it.
That second check matters more than the first. The preview proves the link exists; the app proves the person who needs it can act on it.
What this does not control
- Whether anything can be booked. Assigning changes where a resource is, not what it is or who may have it.
- What people see on the map. A person is shown the resources they could already see. A map never widens or narrows that.
- Lockers, sensors and panels. Each is placed from its own form — see How rooms and desks link to the map.