

Ask guests to upload payment proof
Configure at least one charged room plan, then open Confirm → Payment. Free pages hide payment controls. Choose In advance when guests should pay before arrival and set Amount due to deposit or total. A deposit option needs a plan with a deposit.
Why use this feature
Payment instructions explain how the guest should pay, and proof upload attaches their evidence to the relevant booking. This gives staff a reference, expected amount and file to reconcile together. Choose required proof only when you need the file before accepting a submission; optional proof supports later follow-up. Keep the guest’s upload and the staff member’s payment verification as separate steps in your operating procedure.
1. Open the page
Configure at least one charged room plan, then open Confirm → Payment. Free pages hide payment controls. Choose In advance when guests should pay before arrival and set Amount due to deposit or total. A deposit option needs a plan with a deposit.
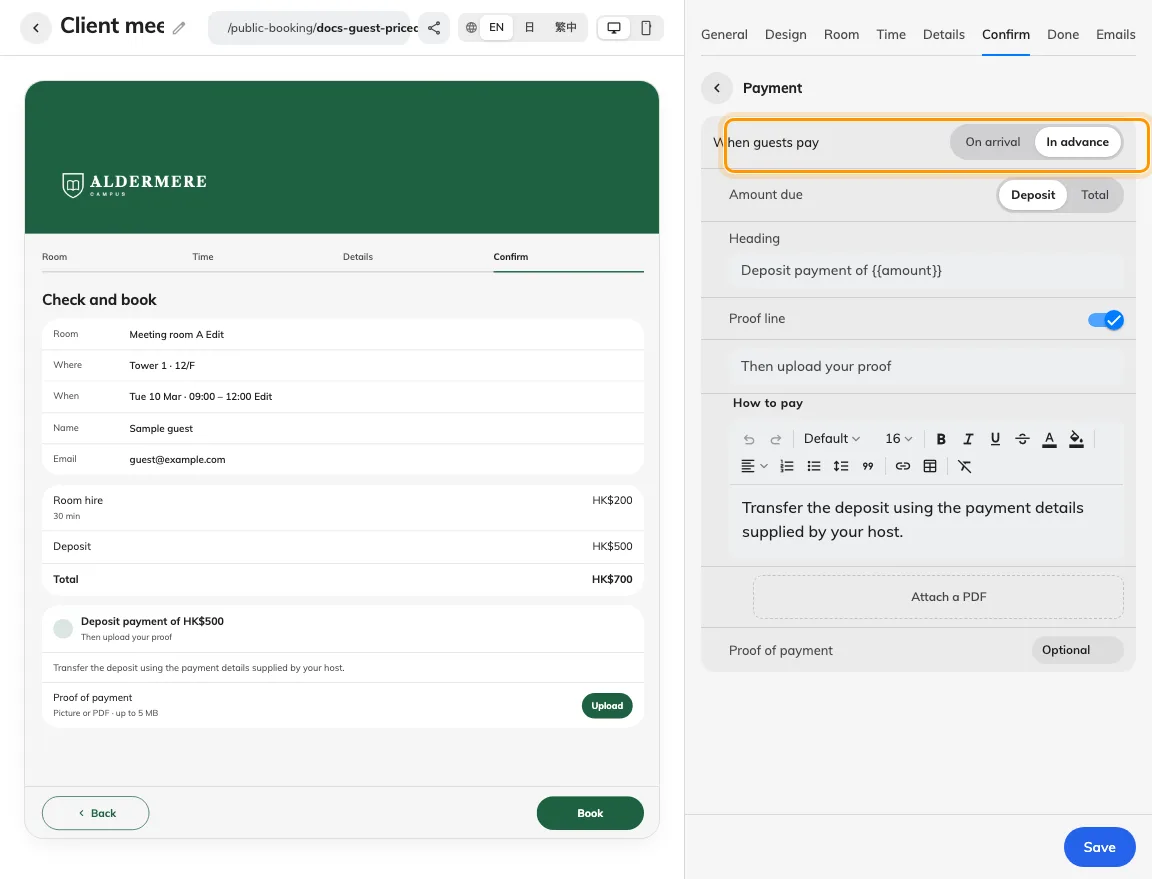
Payment settings choose when proof is offered or required.
2. Set the guest experience
Write clear payment instructions and optionally attach a payment document. Set Proof of payment to hidden, optional or required. Guests can upload a picture or PDF up to 5 MB where the proof control is offered. Required proof must be supplied before submission; optional proof may also be supplied afterwards through the booking’s follow-up page where allowed.

Payment instructions and the optional proof upload appear before booking.
3. Check the result
Save and test the actual guest payment card, upload and completion result with a fictional proof file. Staff should open the associated proof from the booking’s payment indicator and match it to the reference and amount due. Proof received means a file was received. Staff must still verify the transfer; it is not confirmation that payment settled.
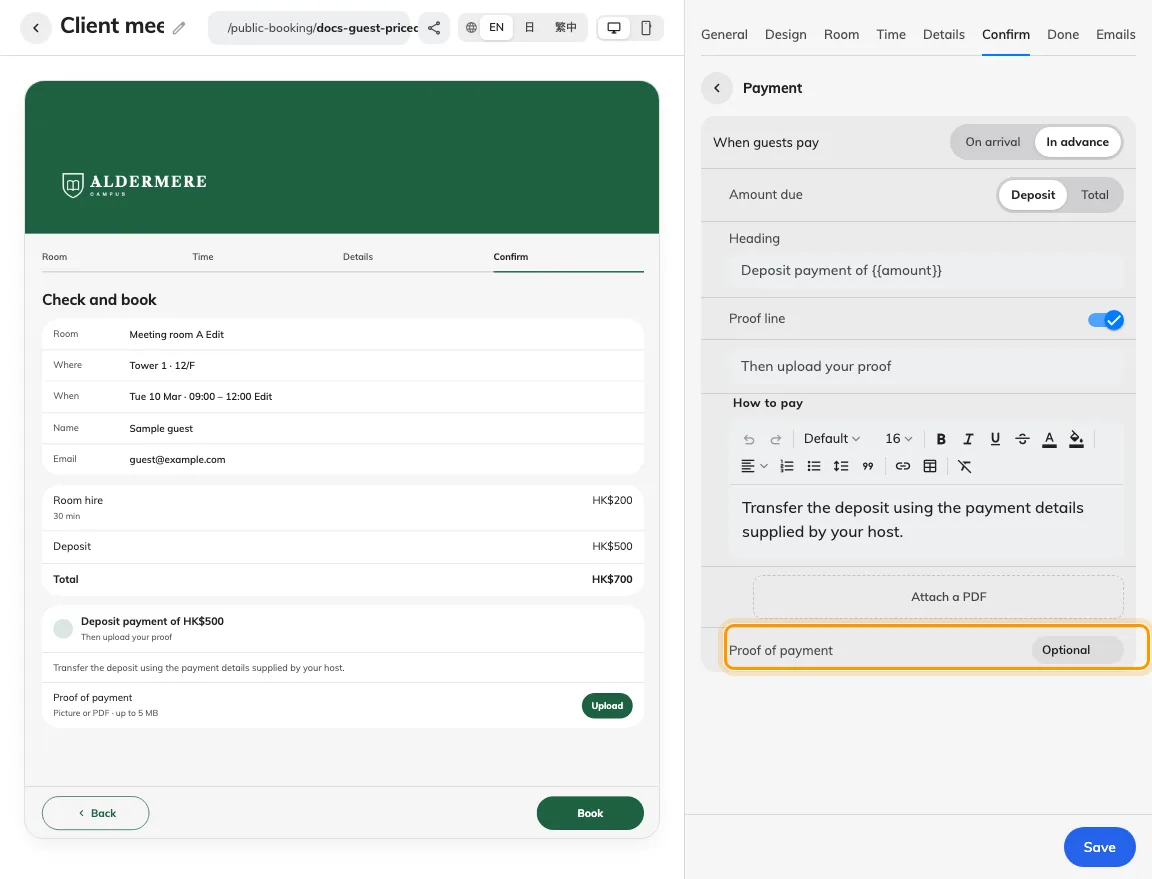
The same payment screen supports required proof before submission.