

Check a visitor in by scanning their code
Reading a visitor's pass at reception — the camera on a phone, a handheld scanner at the desk, or their name. The scan only finds them; a second tap is what checks them in.
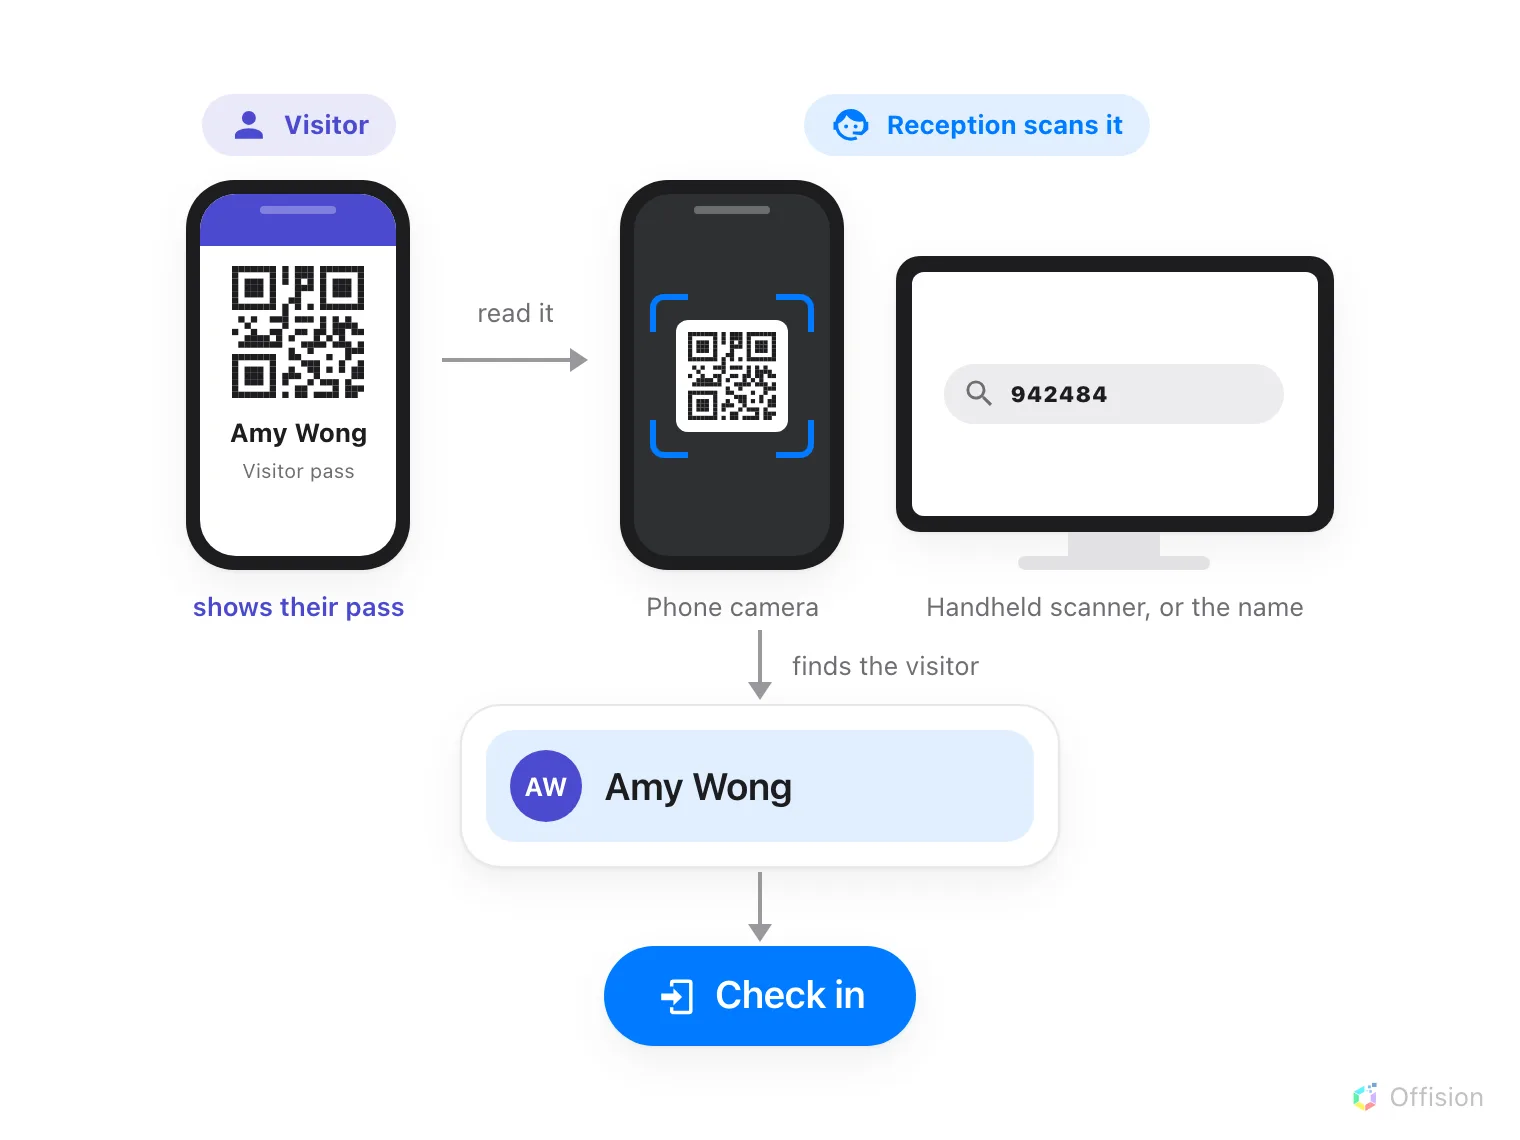
Reading the pass only finds the visitor. Checking them in is the separate step after it.
1. Open Reception and land on the right day
Reception is one of the pages on the app home; pick it from the menu down the left. It opens on Today’s visitors, and the date at the top is the day being searched.
That date matters more than it looks. Check in is offered only for a visitor who has not arrived yet and whose visit is today, and the scan only searches the day on screen. If you are looking at the wrong day, a perfectly good pass comes back No results found.
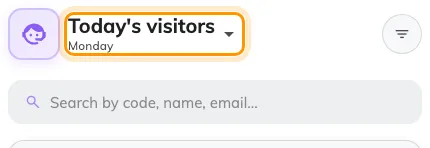
The date at the top is the day being searched.
2. Scan the visitor’s code
On a phone, tap the + button at the bottom right and choose Scan. The back camera opens; hold the visitor’s QR code in the frame and it reads in one shot.
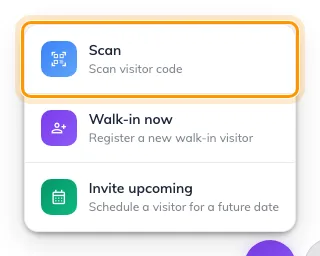
The phone's + button, with Scan at the top.
At a desk there is usually no camera worth pointing across a counter, so use the search box instead — it matches on code, name, email. A handheld QR scanner types the code straight into it, and typing the visitor’s name works just as well when they have no pass to hand. The Scan visitor code button beside the box is the camera version, for a computer that has one.
Every one of those routes ends in the same place: the list narrows to that one visitor, and the code sits in the search box exactly as if you had typed it.
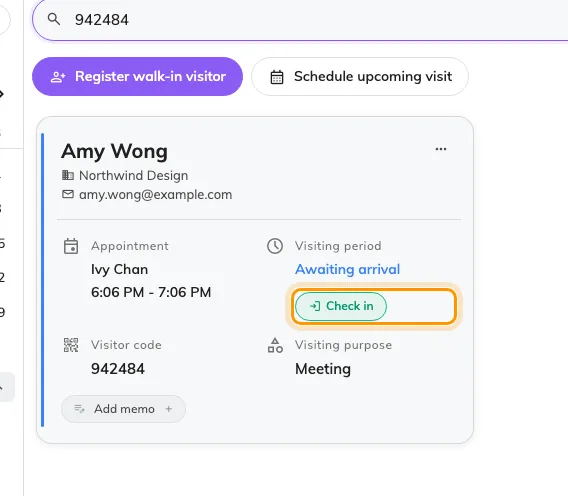
One visitor left in the list, with Check in on their card.
3. Check them in
Tap Check in. What the wizard asks for is set by the visiting purpose, and how much of it you see depends on the visitor:
- Someone who registered online has already answered the form and the surveys, so the wizard skips ahead — to Take a photo if their purpose wants one and they have none yet, otherwise straight to the confirmation.
- Someone walking up unannounced starts at the top — Visitor information, then a photo and any Visitor survey the purpose asks for, then confirm.
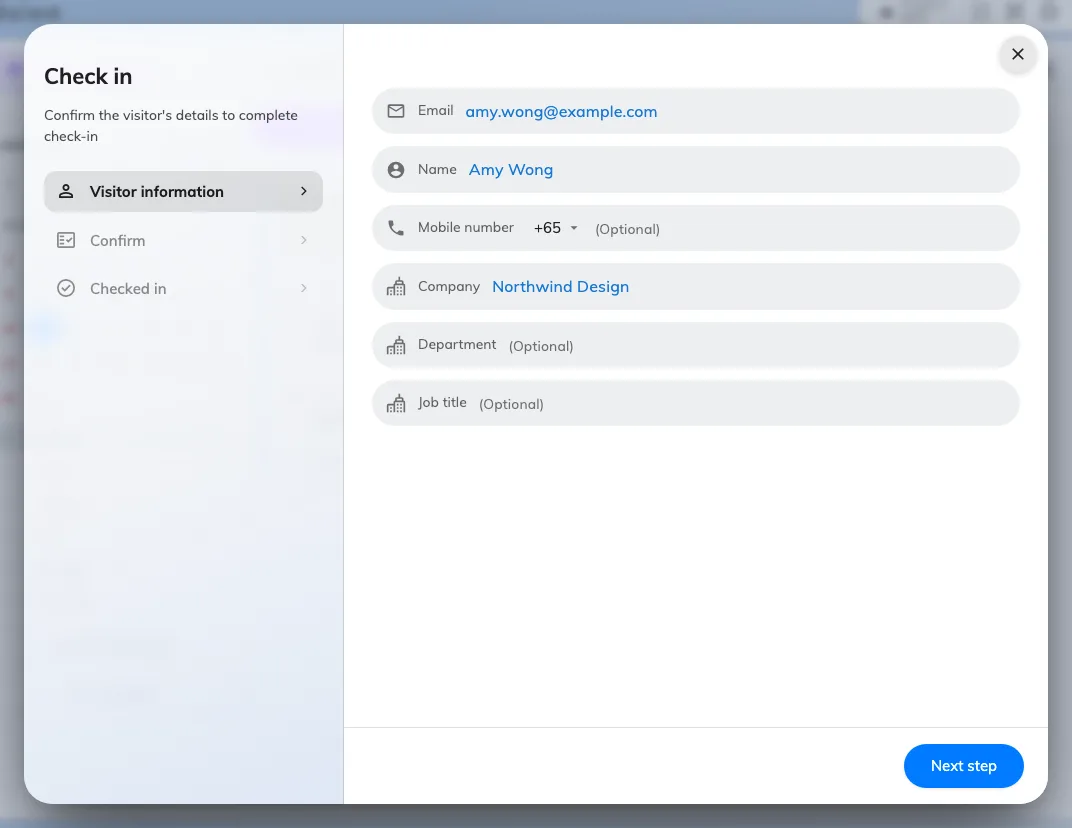
The check-in wizard, with its steps listed down the left.
Change what is asked for on the visiting purpose itself.
Open Visiting purpose4. Check it worked
The visitor’s card should now show the time they arrived and Visiting under Visiting period, with Check out in place of Check in. That is the whole confirmation — if the card still offers Check in, the wizard was closed before the last step.
The host is emailed the moment you tap Check in, unless every location governing that visit has turned it off — Tell the host their visitor arrived. The wizard shows no floor plan: the map that points a guest at their room belongs to the lobby screen, not the desk.
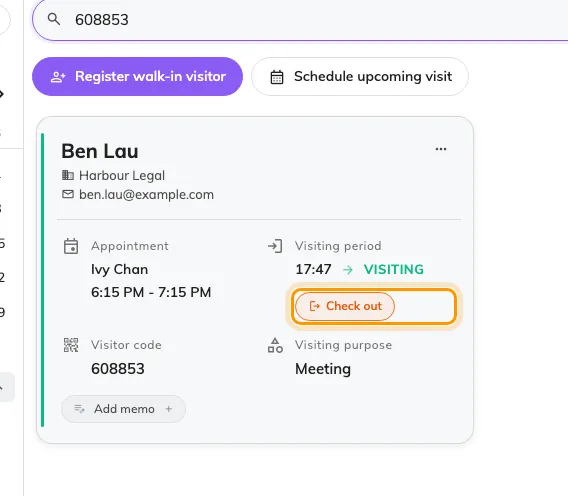
An admitted visitor: the arrival time, Visiting, and Check out in place of Check in.